Audience: client administrators and event administrators. Applies to: events that check people in with the Delekit Check-in Desk kiosk app.
Sign a check-in kiosk in by approving the code it shows from your own laptop or phone, then choose your event and the check-in profile it runs. The kiosk then downloads your attendees, so it keeps working if the connection drops.
Before you start
Install the app first. See Install the check-in kiosk.
You need to be a client administrator, or an event administrator on the event. A kiosk signed in with your account can check in attendees for the events you can access, so approve only a kiosk you're setting up yourself.
Your event needs a check-in profile. Delekit sets these up: ask Delekit support before the day.
Have the event's code ready. It shows on the event's Overview, with your client's name and the event's dates.

Sign the kiosk in with a code
Open Delekit Check-in Desk on the kiosk. In Use a code, it shows a web address and a code. The code changes every 10 minutes.
On your laptop or phone, go to that address and sign in to Delekit if asked. In Delekit you can also select Shops & check-in › Pair a kiosk in the menu. Or scan the kiosk's QR code with your phone, sign in, and go on to step 4.
Enter the Code and select Continue.
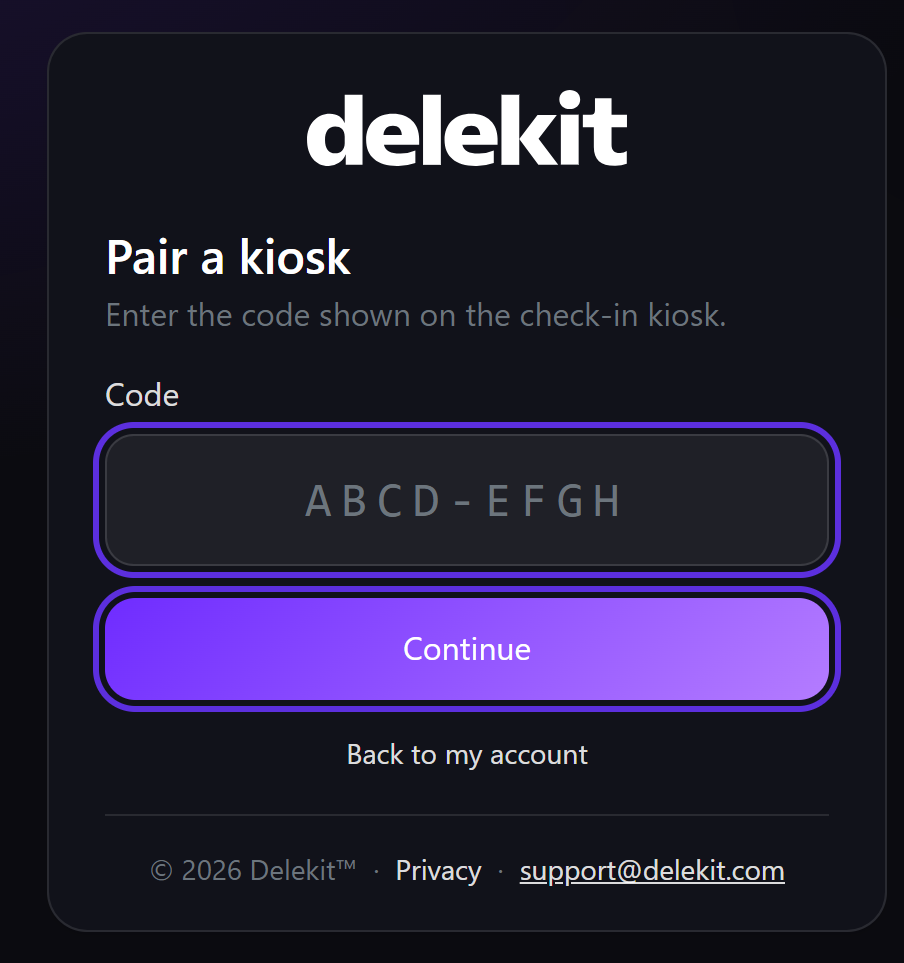
On Connect this kiosk?, check the code matches the one on the kiosk screen.
In Name this device, enter a name you'll recognise, such as Front desk 2.
Select Connect kiosk. The page shows Kiosk connected, and the kiosk carries on by itself.
You can also sign in on the kiosk itself: select Sign in in the browser and enter your email and password there.
Choose the event and profile
- On Enter your event code, enter the event's code and select Find event. It's the Event code on the event's Overview.
- On Choose a check-in profile, select the profile for the session this kiosk checks people into. Today's profile is selected for you.
- In Kiosk name, enter a name, such as Main entrance 1. It's shown in reports and on the organiser screen.
- Select Next. The kiosk downloads the attendees, badge templates and banner. This can't be skipped: the kiosk needs them to work offline.
Connect the scanner
- On Connect your scanner, scan the code on the screen with your handheld scanner. Scanner connected shows when it reads.
- No scanner? Select Use the camera, then hold any QR code up to the camera until Camera working shows.
- Select Next, and set up the printer: see Set up badge printers.
What happens next
After the printer, Ready to go? checks everything the kiosk needs. Select Start check-in to begin: see Run check-in on the day. The next time the app opens, it asks Resume check-in? instead of starting again.
Check it works
In Delekit, select your name in the menu to open your account, then select Kiosks. The kiosk is listed under the name you gave it, with Paired with a code and when it was last active.
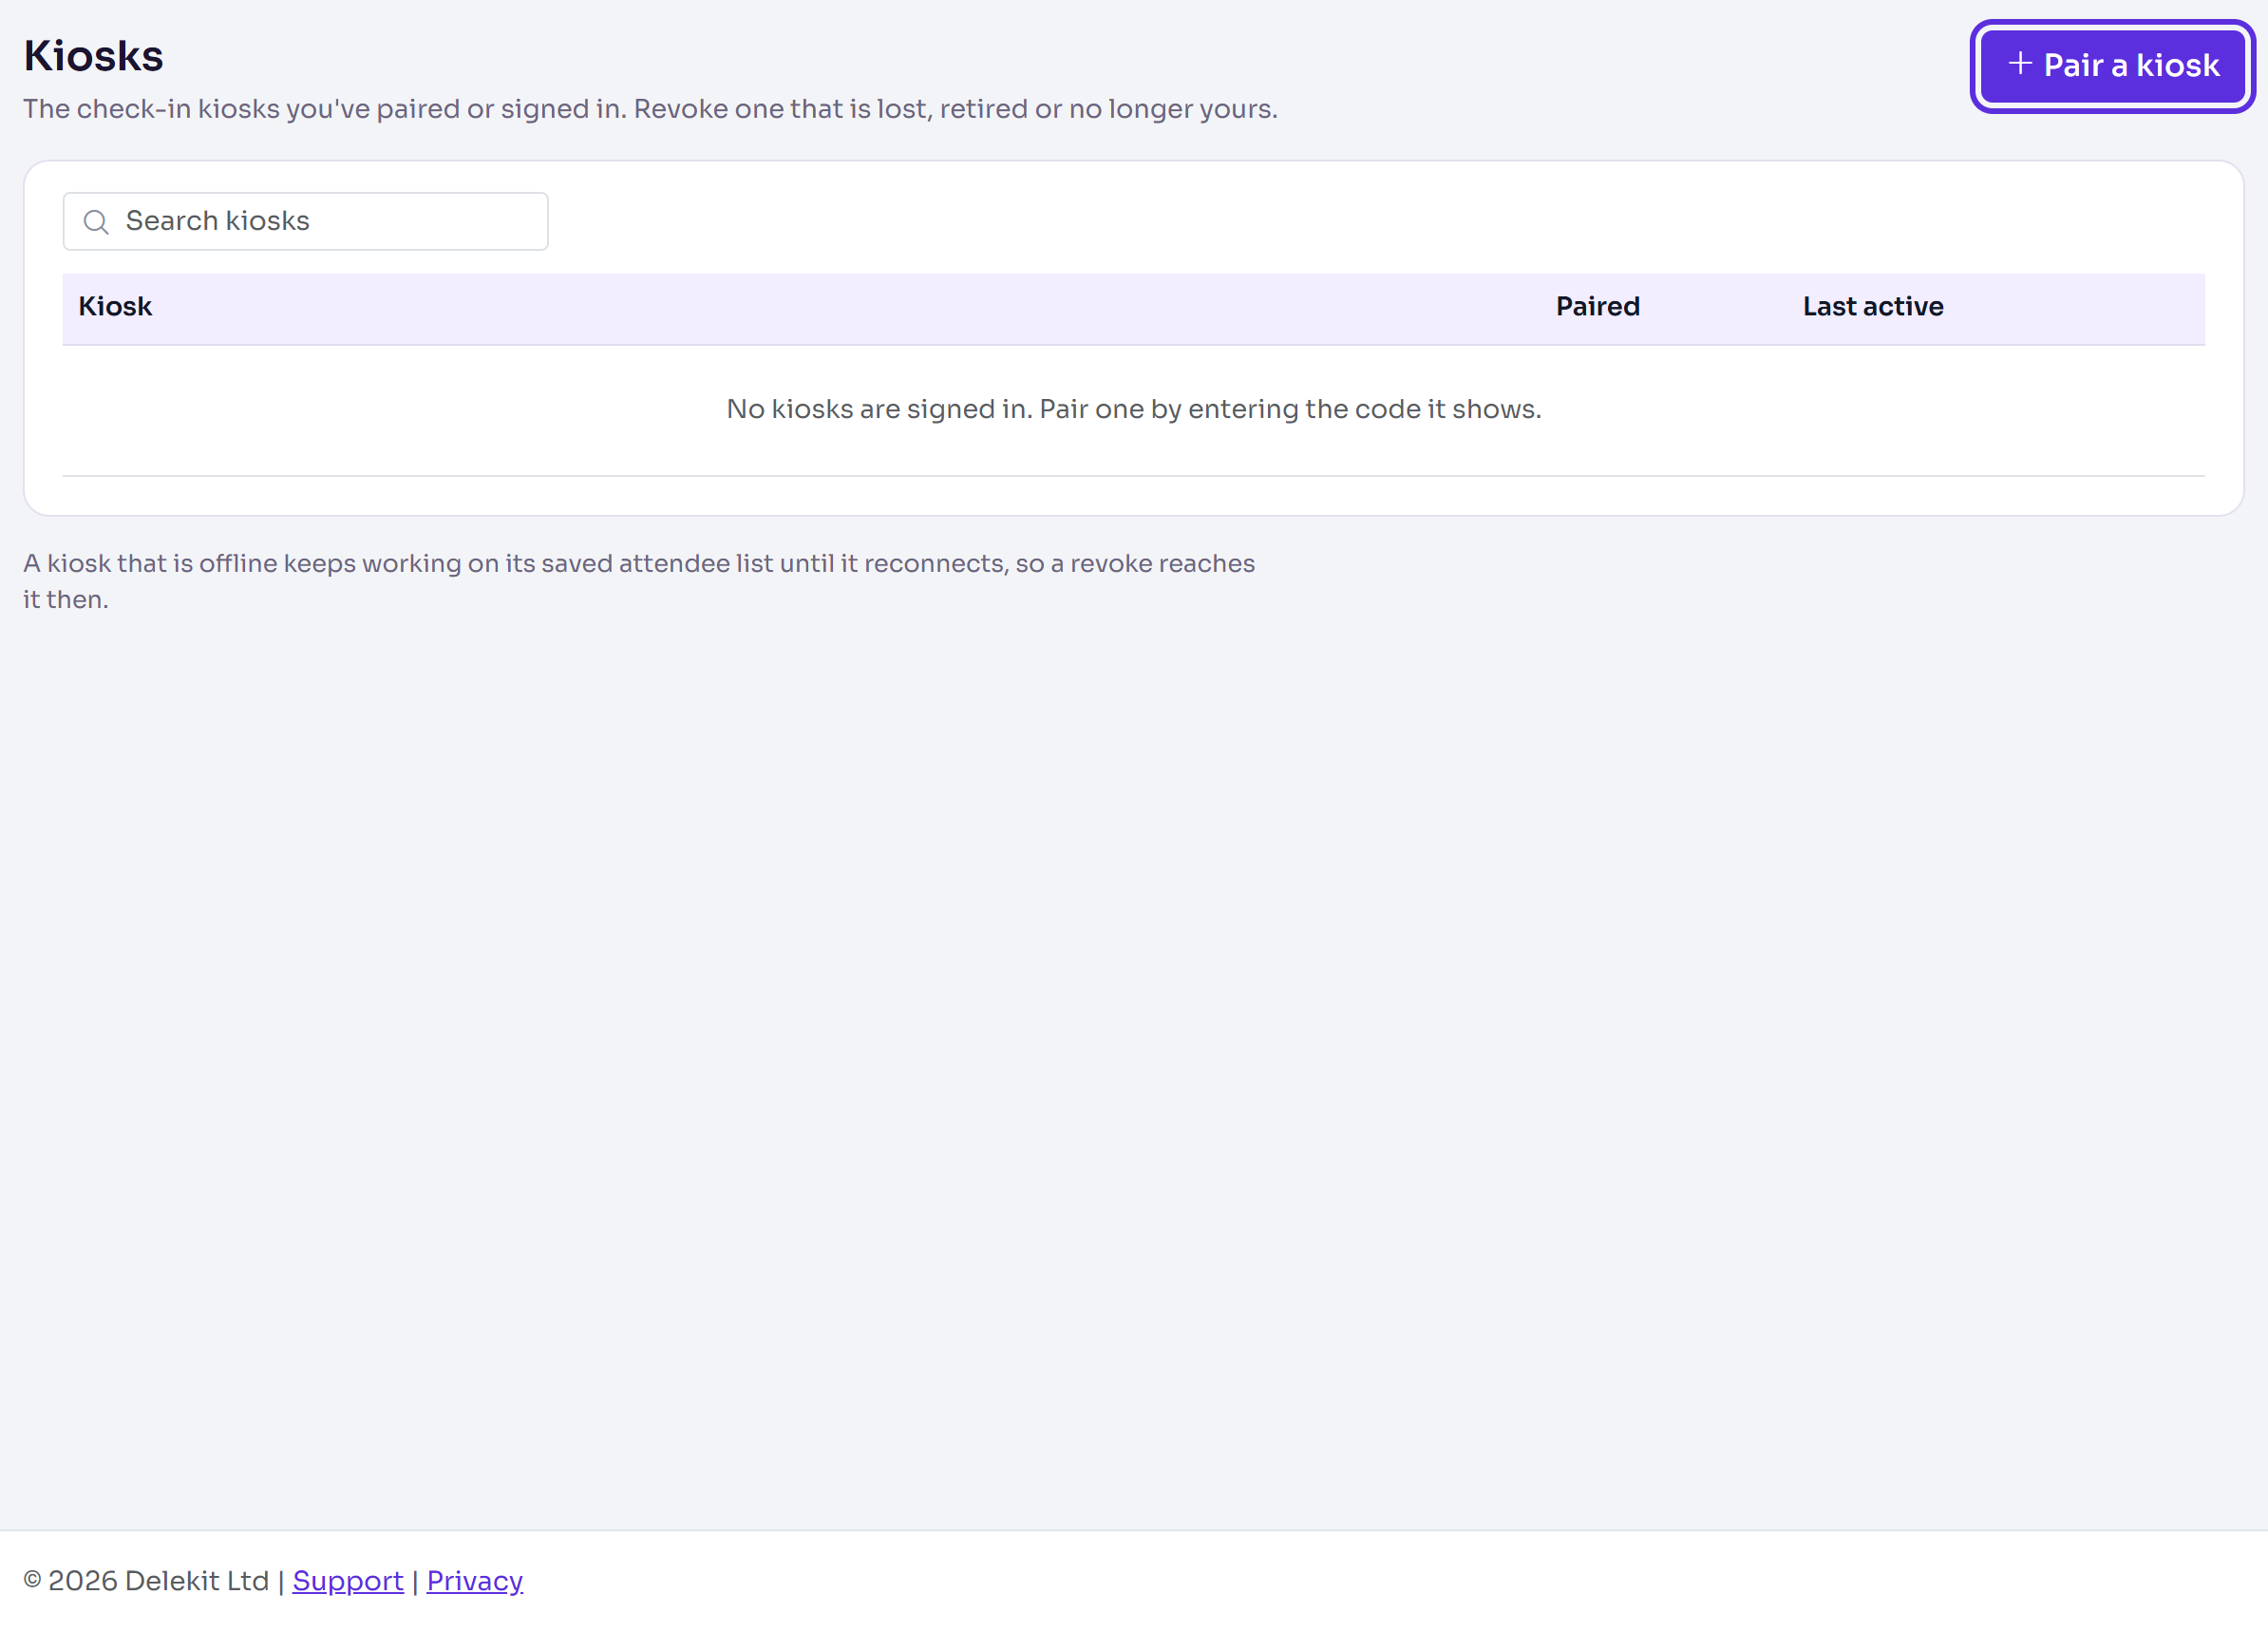
To rename a kiosk, select it, change its Name and select Save name. To remove one that's lost or retired, select it, then Revoke kiosk. It signs out the next time it connects, within 15 minutes. Check-ins it hasn't sent yet stay on it, and are sent once it's paired again.
If something isn't right
- That code isn't valid or has expired: the code changed. Enter the one the kiosk shows now.
- No access to the Delekit app: your account can't sign in a kiosk. Ask a client administrator in your organisation to check your access.
- Your account can't open this event: you aren't a client administrator or an event administrator on this event. Sign the kiosk out and sign in with an account that is.
- Check the code and try again, or Enter the 6 to 8 character event code: the event code is wrong. Copy it from the event's Overview.
- This event has no check-in profiles yet: ask Delekit support to set one up, then find the event again.
- Someone at the venue doesn't have a Delekit account: they can send you the code on the kiosk screen, and you approve it from your laptop or phone.
Related articles
Still stuck? Contact Delekit support.
Was this article helpful?
That’s Great!
Thank you for your feedback
Sorry! We couldn't be helpful
Thank you for your feedback
Feedback sent
We appreciate your effort and will try to fix the article