Audience: event administrators and client administrators. Applies to: plans that include the registration form builder.
Check your draft form with Preview, then publish it so people can register with it. Once it's published, copy its Form link, or a registration type link that opens the form with a type already chosen, from the form's settings.
Before you start
- Build the form first: see Build your registration form.
- Public access must be on for the form to have links. It's Enabled under Public access in the form's settings.
- Publishing is immediate. Anyone following a link to the form sees the new version straight away.
Preview the form
In the form builder, select Preview.
In Preview as, choose the registration type to preview as. The form shows the questions that type sees. (An event with one registration type skips this step.)
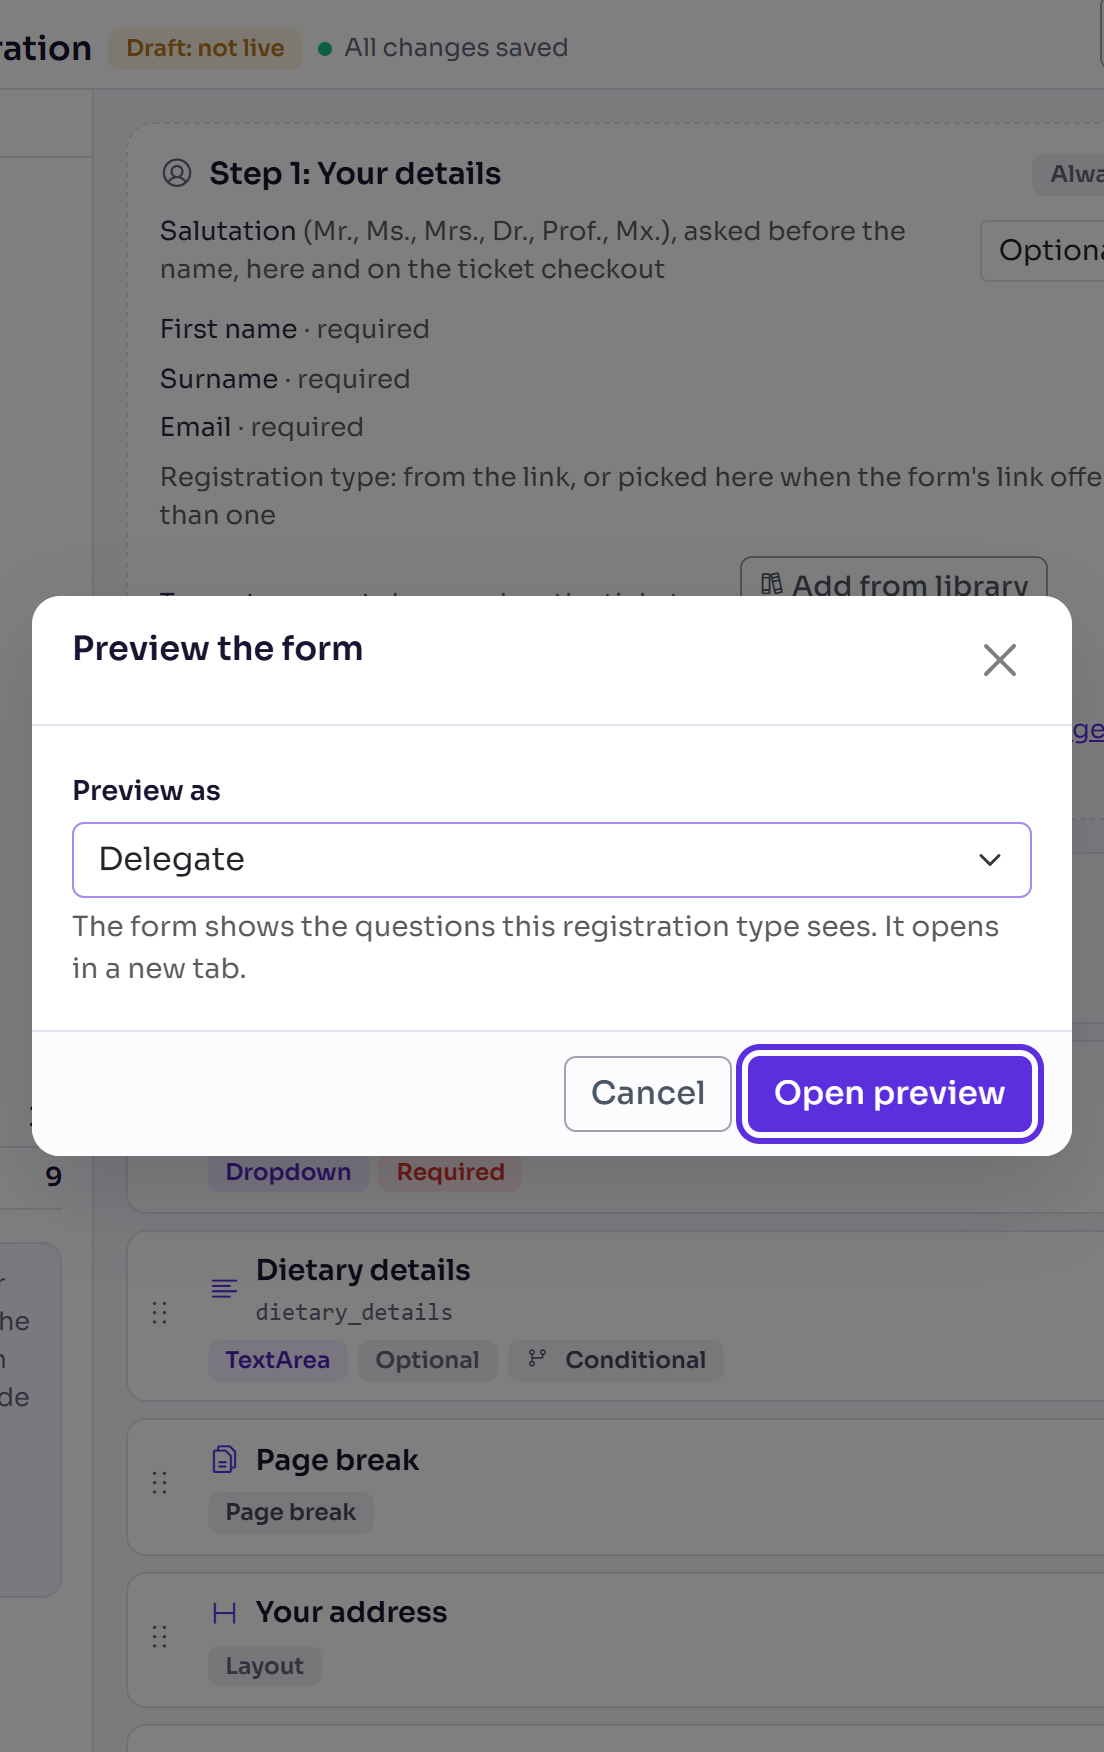
Select Open preview. The draft opens in a new tab, at the questions after Step 1: Your details.
Try the questions, including any that show or hide by answer. Close the tab when you're done.
Publish the form
In the form builder, select Publish form.
Read the pop-up. It says which version you're publishing, that attendees following existing links will immediately see the updated form, and that your next change starts a new draft.
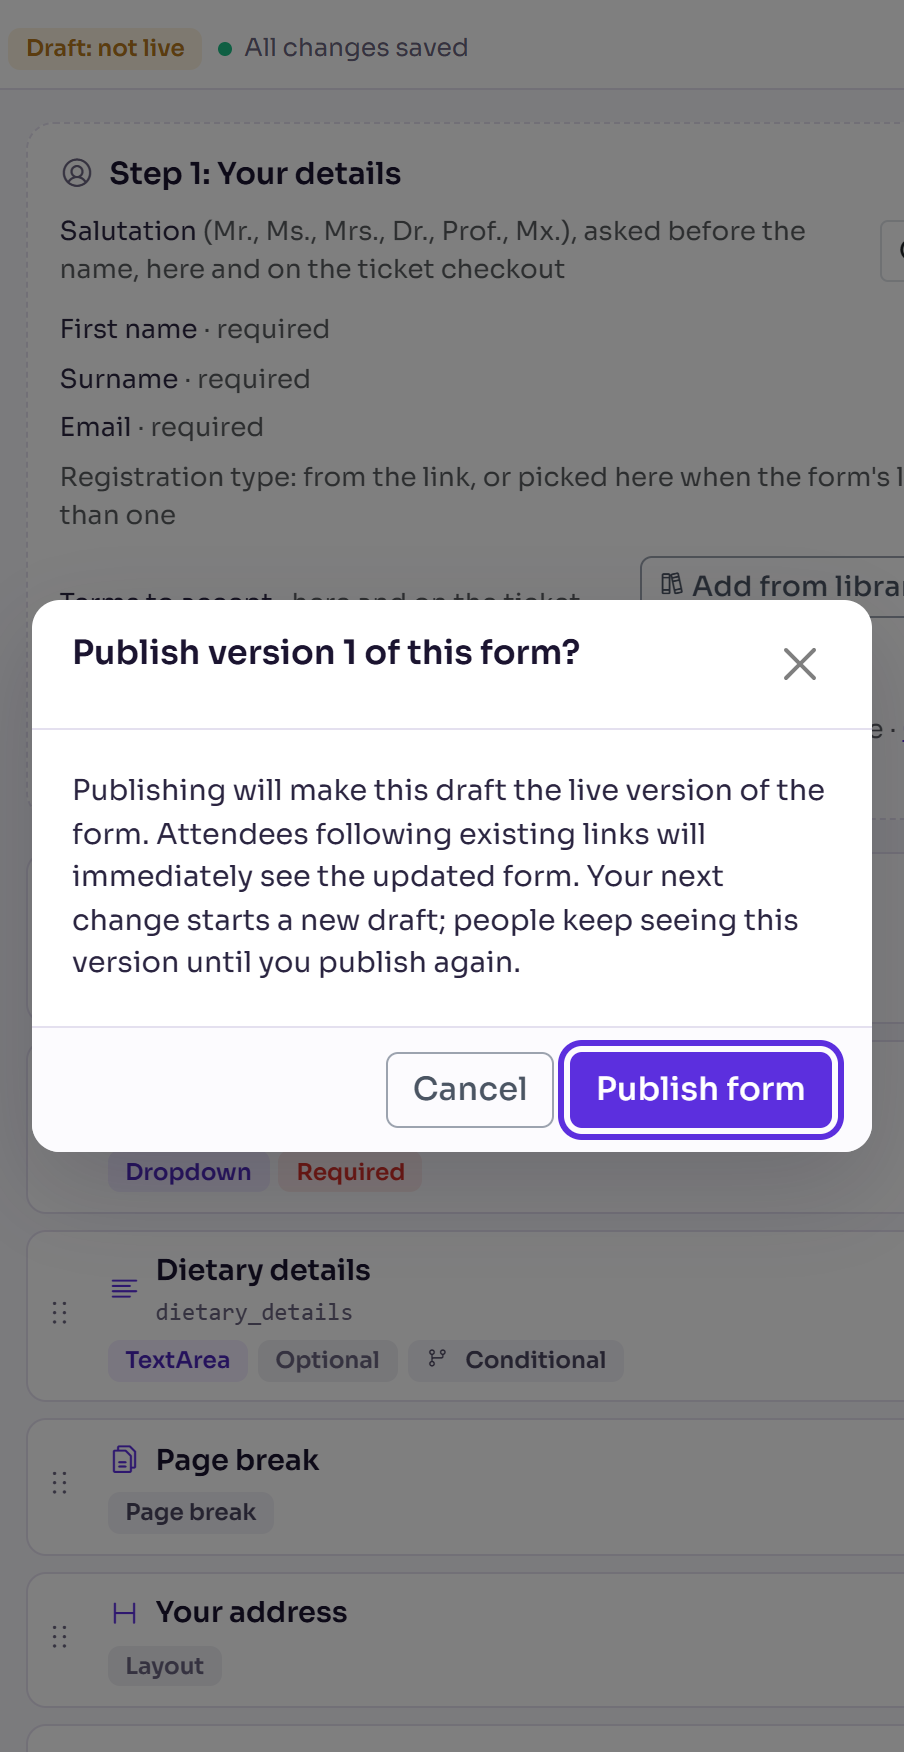
Select Publish form.
You'll see Published: your form is now live. The bar shows Live: v and the version number: a new form's first published version is v1, the next v2, and so on.
Copy the registration links
In the form builder, select More actions (⋯), then Form settings. From the Registration forms list, tick the form and select Actions, then Edit settings.
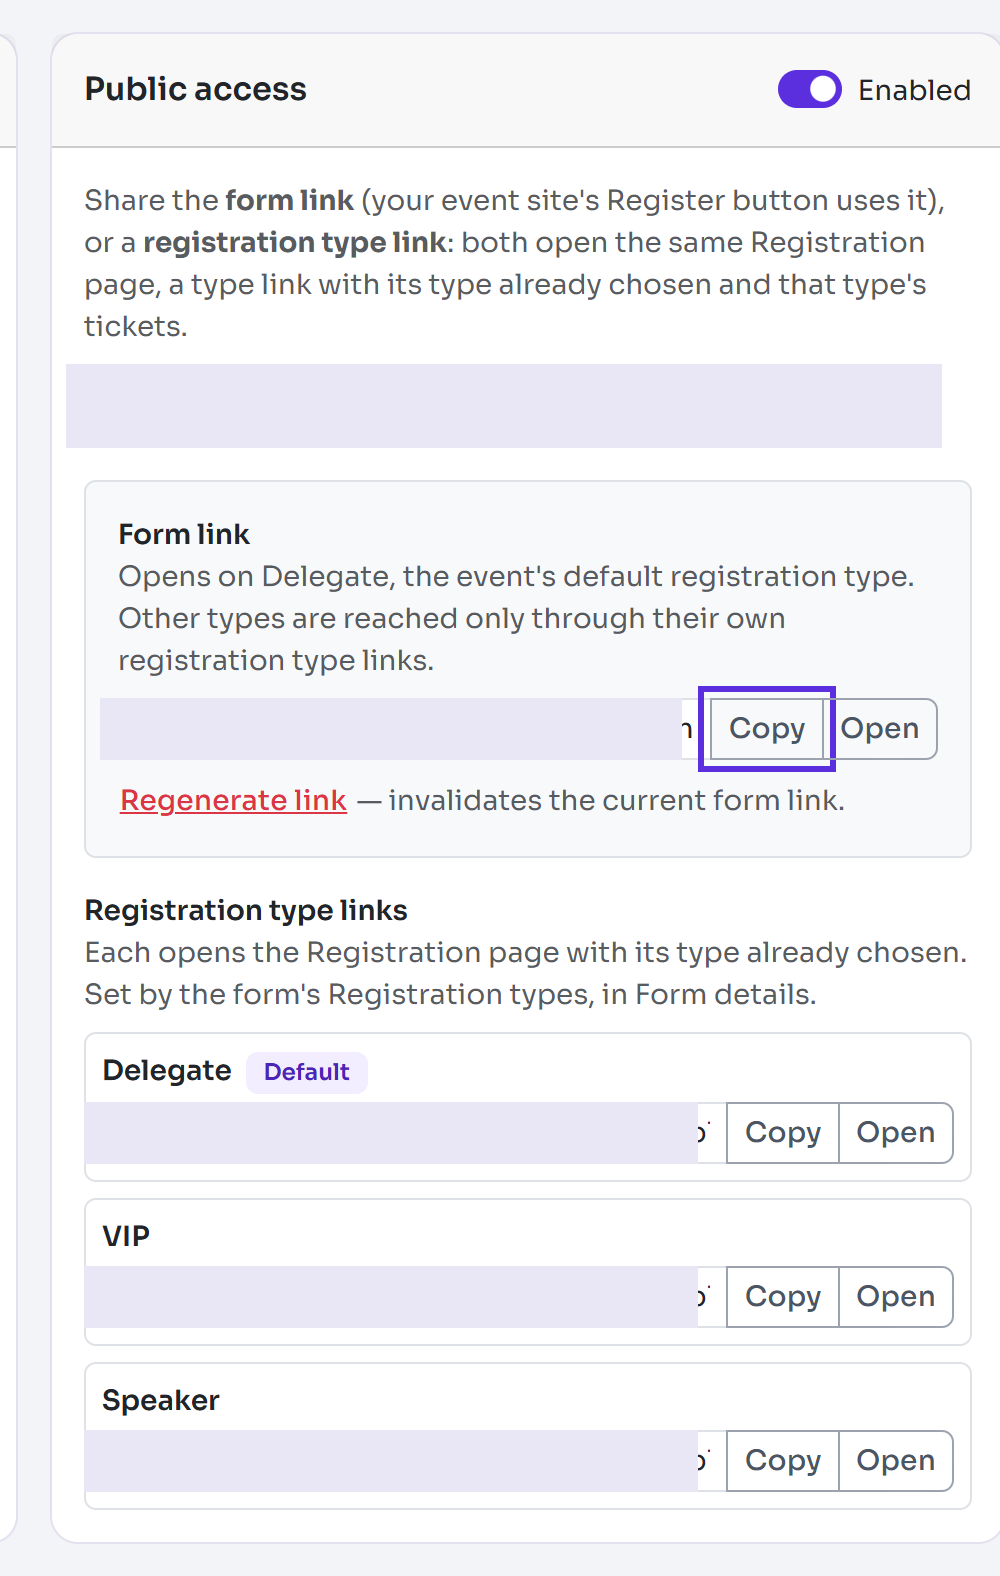
Under Public access, find the Form link. Your event site's Register button uses it. If the event's default registration type is on the form, the link opens on that type.
Select Copy next to the link. The button shows Copied. Select Open to try it.
To open the form with another type already chosen, copy its link under Registration type links. There's one for each type chosen in Registration types.
What happens next
- The Registration forms list shows Published v and the version number, with the date.
- The Setup checklist ticks Publish registration form for you.
- Your next change starts a new draft. The live form stays as published until you select Publish form again. To see what's live, select More actions (⋯), then View published form.
Check it works
Select Open next to the Form link and look through the form as attendees will see it.
If something isn't right
- "Save the form first to generate its public links" or "Enable public access and save to generate this link": turn on Enabled under Public access, then select Save settings.
- A registration type has no link: add it under Registration types, then select Save settings.
- A link was shared with the wrong people: select Regenerate link, then Generate new link. The current form link and every registration type link stop working at once, so copy the new ones.
- Publish form isn't available: there are no unpublished changes. Change something first.
Related articles
- Build your registration form
- Show or hide a question based on an answer
- Add custom fields to your event
Still stuck? Contact Delekit support.
Was this article helpful?
That’s Great!
Thank you for your feedback
Sorry! We couldn't be helpful
Thank you for your feedback
Feedback sent
We appreciate your effort and will try to fix the article