Audience: event administrators and client administrators. Applies to: all plans.
Add a session to your event's agenda, such as a keynote, a workshop or a breakout, with its times, its room and who can book it. Sessions show on the attendee app agenda, and the check-in app scans people into them.
Before you start
- You need to be a client administrator, or an event administrator on the event.
- Decide the session's type: Bookable (a list of people booked on it), Open to all (anyone can be scanned in) or Agenda item (on the agenda, never scanned). See Session types: bookable, open to all and agenda items.
- To choose a room, add it first. See Set up rooms. You can add one to the session later.
- For a break or lunch, select Add agenda item on the Sessions list instead. It opens the same page with Agenda item chosen.
Add the session
In the menu, select Sessions, then Add session.
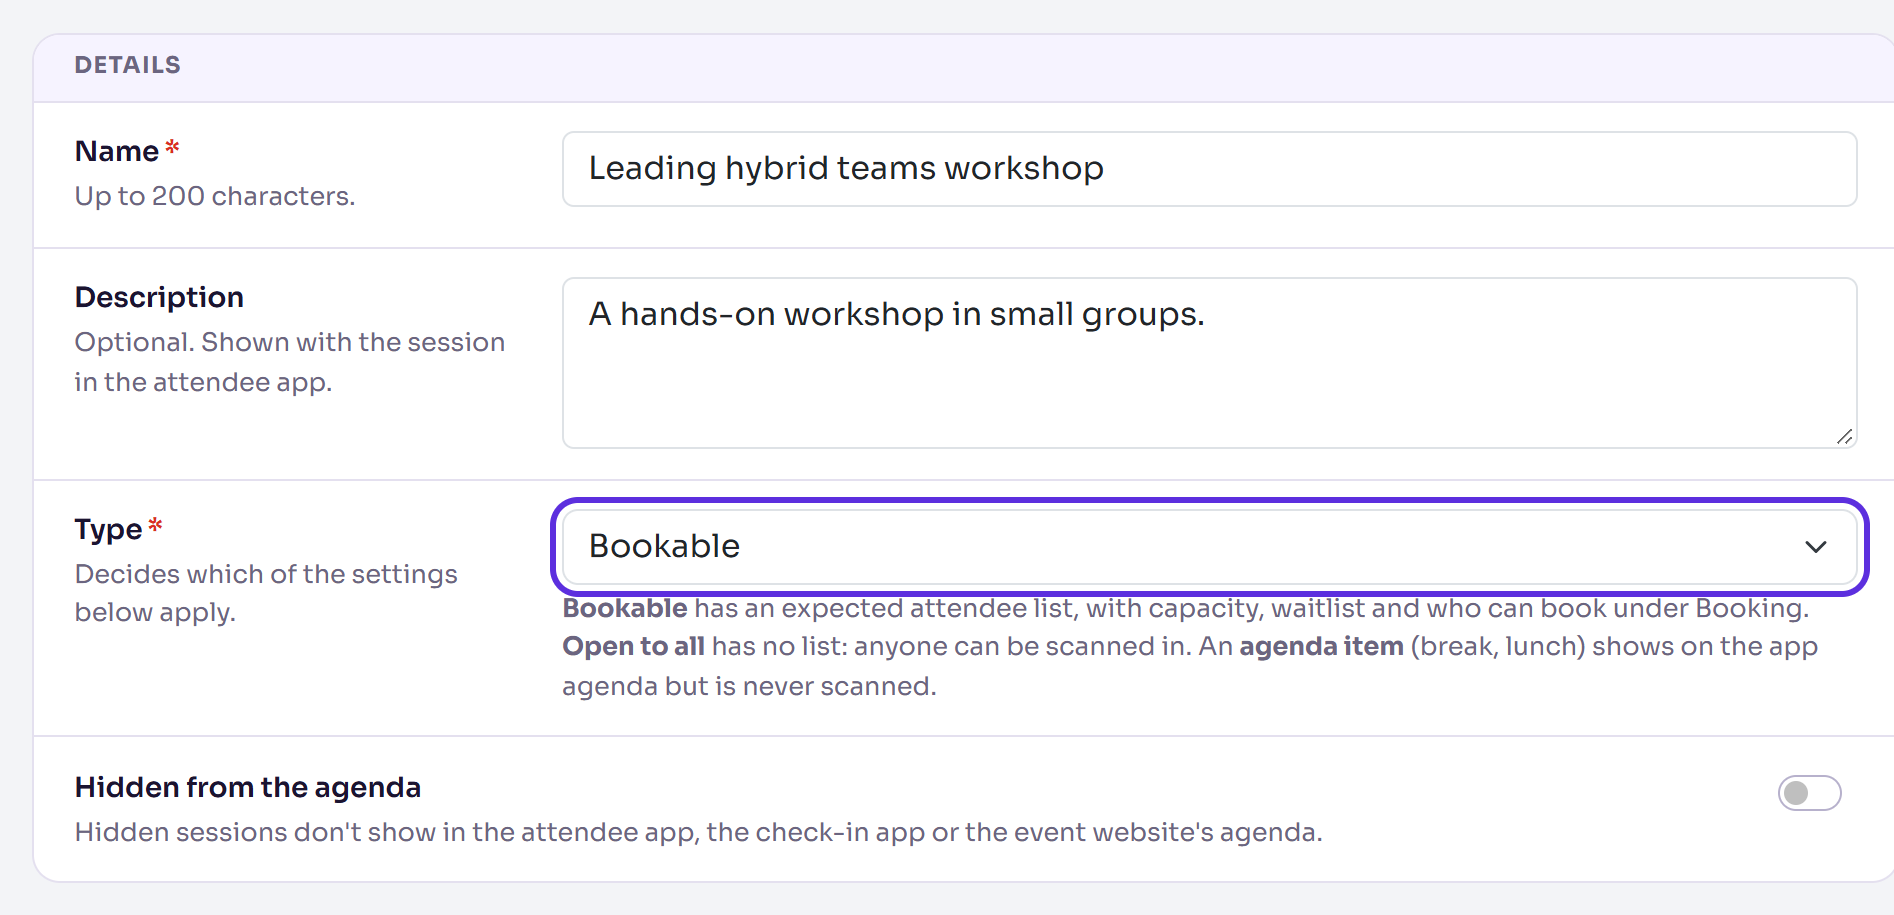
In Details, enter a Name of up to 200 characters. Optionally, enter a Description, which is shown with the session in the attendee app.
In Type, select Bookable, Open to all or Agenda item. The sections that follow change to match the type.
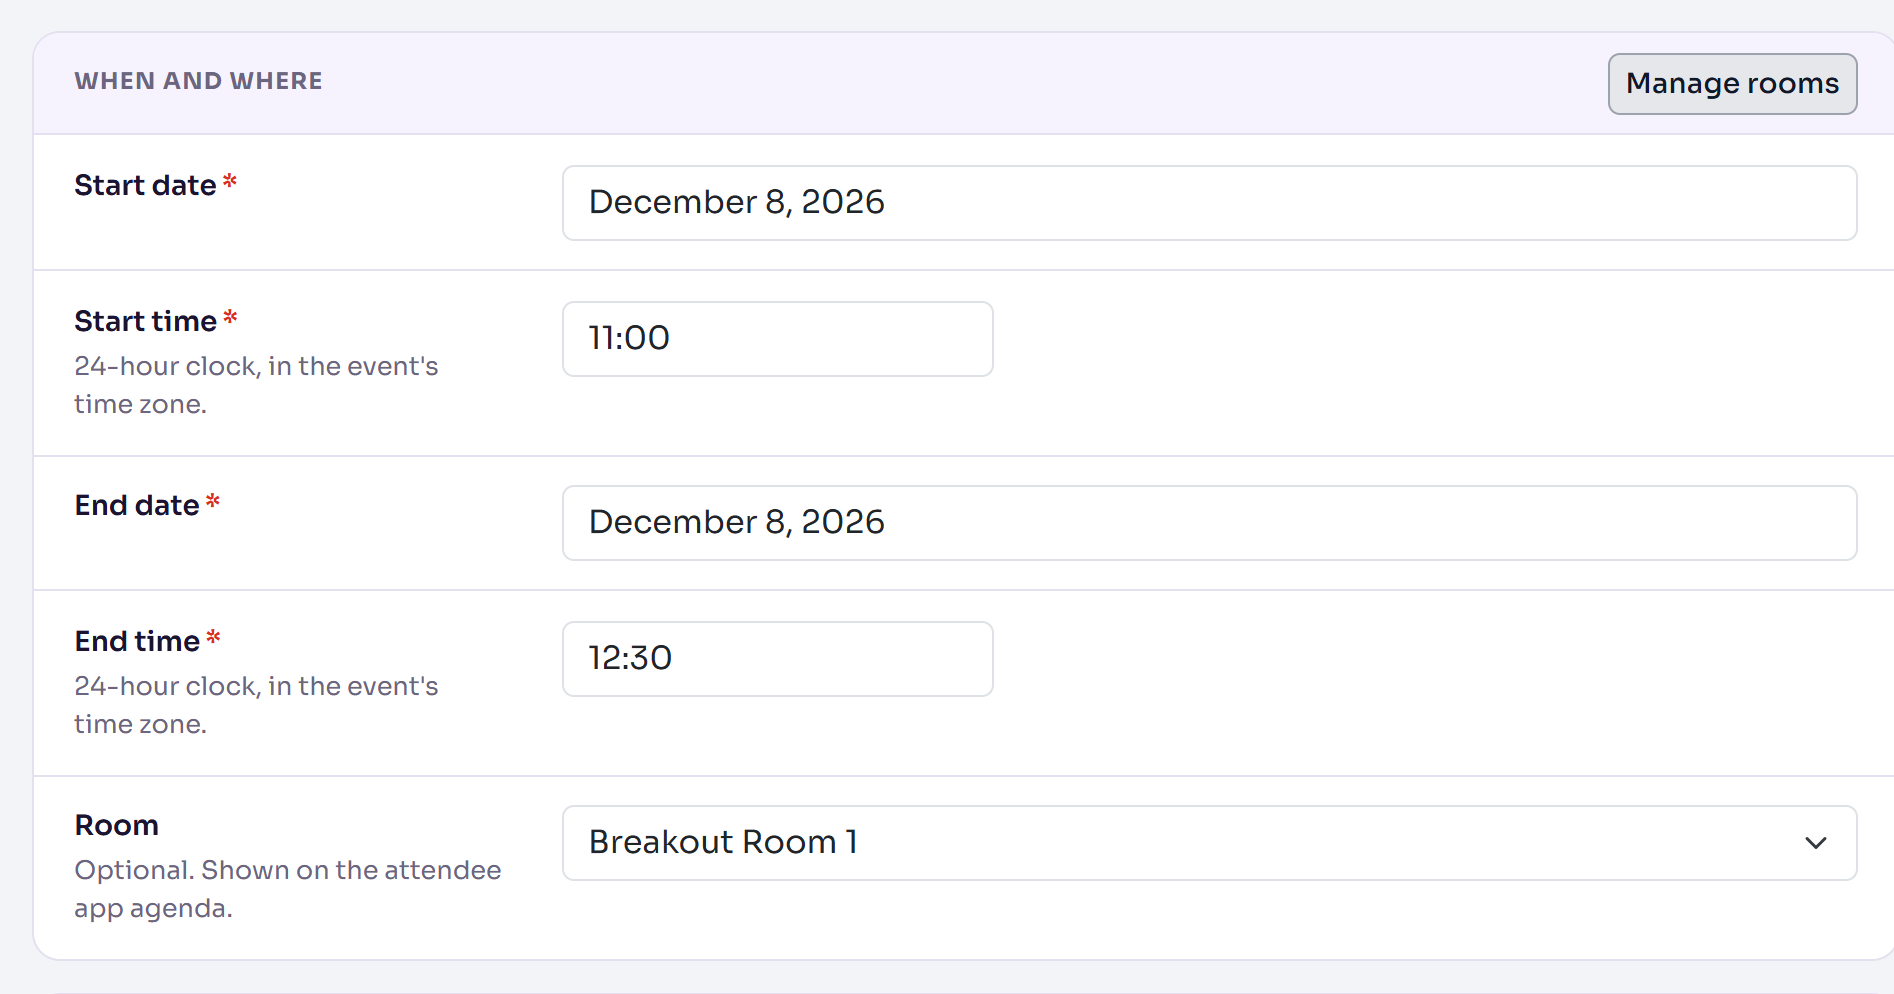
In When and where, choose the Start date, Start time, End date and End time. Times use the 24-hour clock, in the event's time zone.
Optionally, select a Room.
For a Bookable session, set the places in Booking (see Session capacity and waitlists). In Check-in, turn on Mark attendee as arrived at the event if this is the first session people are scanned into, such as registration.
Select Add session.
What happens next
You're back on the Sessions list, with "Changes saved". Sessions are grouped by day, in start-time order, with their time, room and type. A Bookable session shows its places booked, such as 0 / 30.
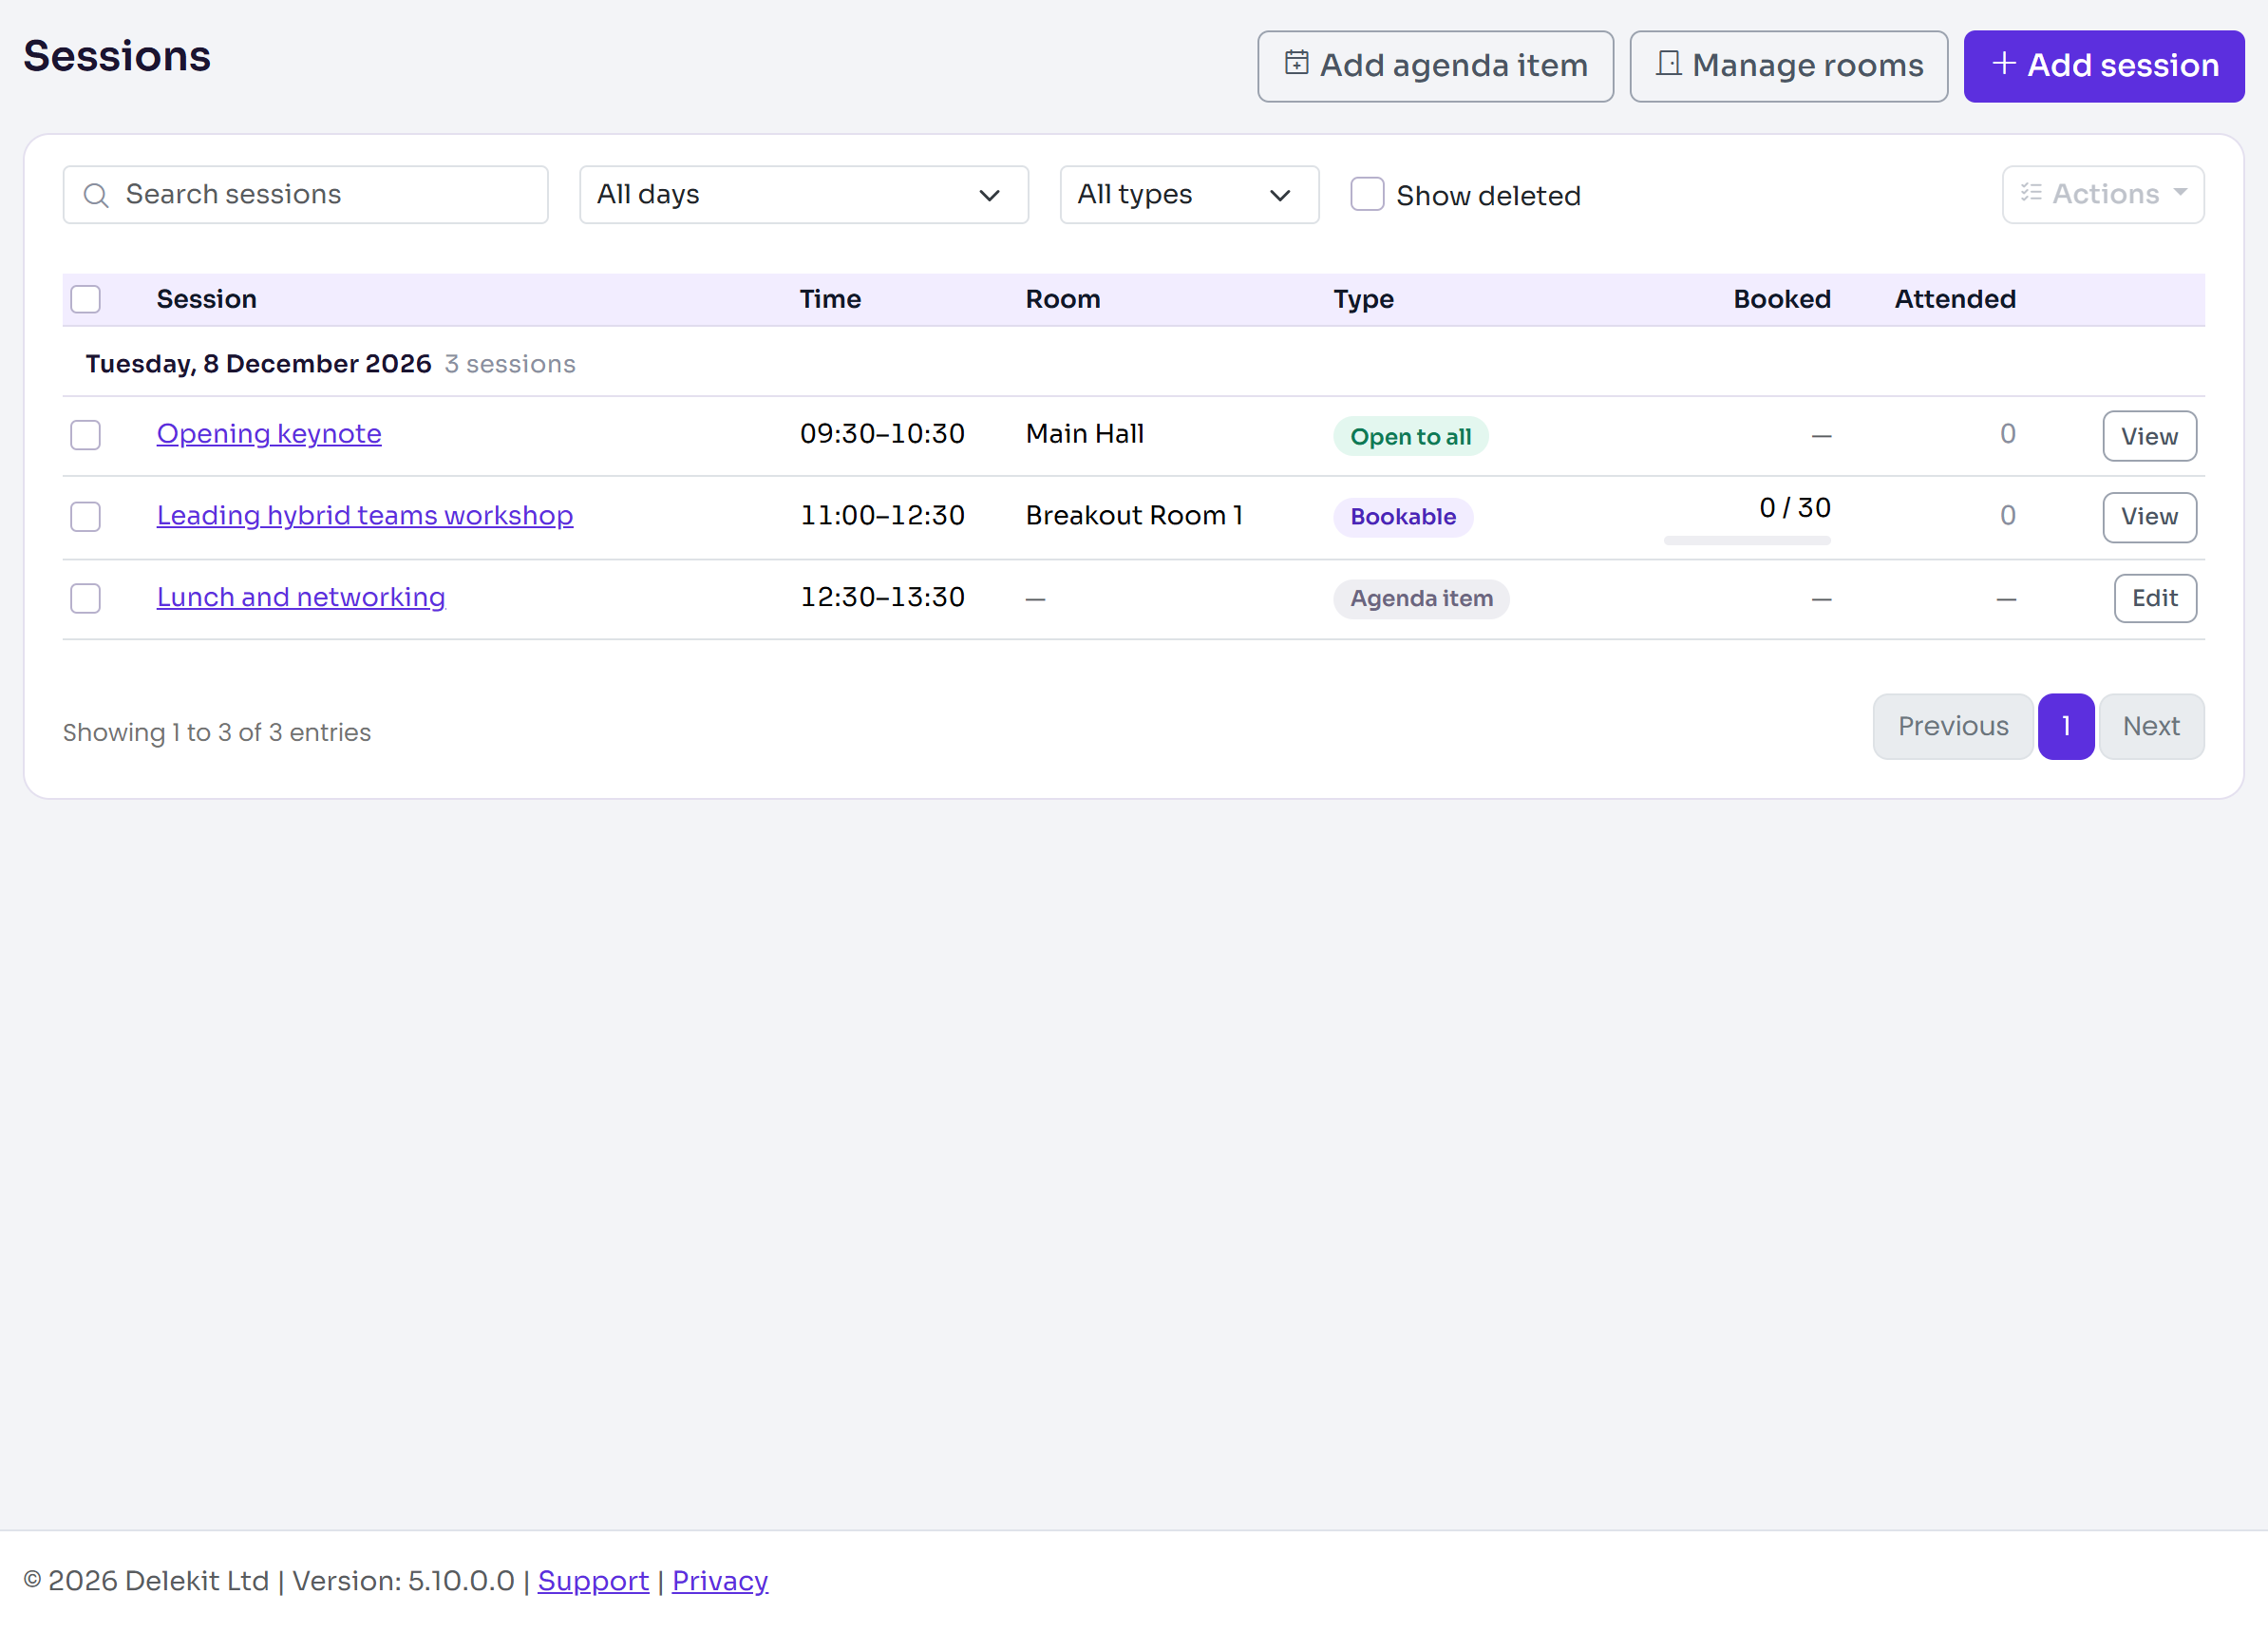
Nobody is booked onto the session, and nobody is emailed. To book people on, see Manage session attendance.
The session shows on the attendee app agenda unless you turn on Hidden from the agenda in Details. Hidden sessions don't show in the attendee app, the check-in app or the event website's agenda. While the event isn't published, the Sessions list says its sessions don't appear in the app yet.
Change or delete a session
- Change it: on the Sessions list, select the session's name. A Bookable or Open to all session opens its session overview: select Edit session there. An agenda item opens its settings straight away. Make your changes, then select Save changes.
- Delete it: on its settings page, select Delete session, then Delete session again in the pop-up. It disappears from the agenda and the app, and can't be scanned.
- Bring it back: on the Sessions list, turn on Show deleted, tick the session, then select Actions, then Restore. It comes back hidden from the agenda: tick it and select Actions, then Show on agenda.
- Make another like it: tick it on the Sessions list and select Actions, then Duplicate. See Clone a session.
Check it works
Search the Sessions list for the session's name, or choose its day in All days. Check its time, room and type. Select its name to see the settings you saved.
If something isn't right
- The session isn't on the attendee app agenda: check Hidden from the agenda is off, and that the event is published. See Go live with your event.
- The room you want isn't in the Room list: add it, or restore it if it was deleted. See Set up rooms.
- The Booking and Check-in sections aren't there: the Type is Agenda item. Choose Bookable or Open to all.
- "The name can be up to 200 characters." Shorten the name.
Related articles
- Session types: bookable, open to all and agenda items
- Session capacity and waitlists
- Set up rooms
- Manage session attendance
- Clone a session
- Check attendees in at registration
Still stuck? Contact Delekit support.
Was this article helpful?
That’s Great!
Thank you for your feedback
Sorry! We couldn't be helpful
Thank you for your feedback
Feedback sent
We appreciate your effort and will try to fix the article