Audience: client administrators and event administrators. Applies to: all plans.
The setup checklist lists everything to do before people register for your event, in the order to do it, with an Open button that takes you to each step. Delekit ticks the steps it can detect as you finish them, and you tick the rest yourself, so you can see at a glance what's left before you go live.
Before you start
- You need to be able to change the event. If you can see the event but there's no Setup checklist in its menu, you have read-only access: ask a client administrator.
- Create the event first. See Create an event.
- Ticking a step only records that it's done. It doesn't publish or change anything.
Work through the checklist
In the menu, select Event, then Setup checklist. You can also select Open setup checklist on the event's Overview.
Check Setup steps done: how many steps are ticked, out of how many.
In Set up your registration site, find the first step that isn't ticked, and select its Open button to go where it's done.
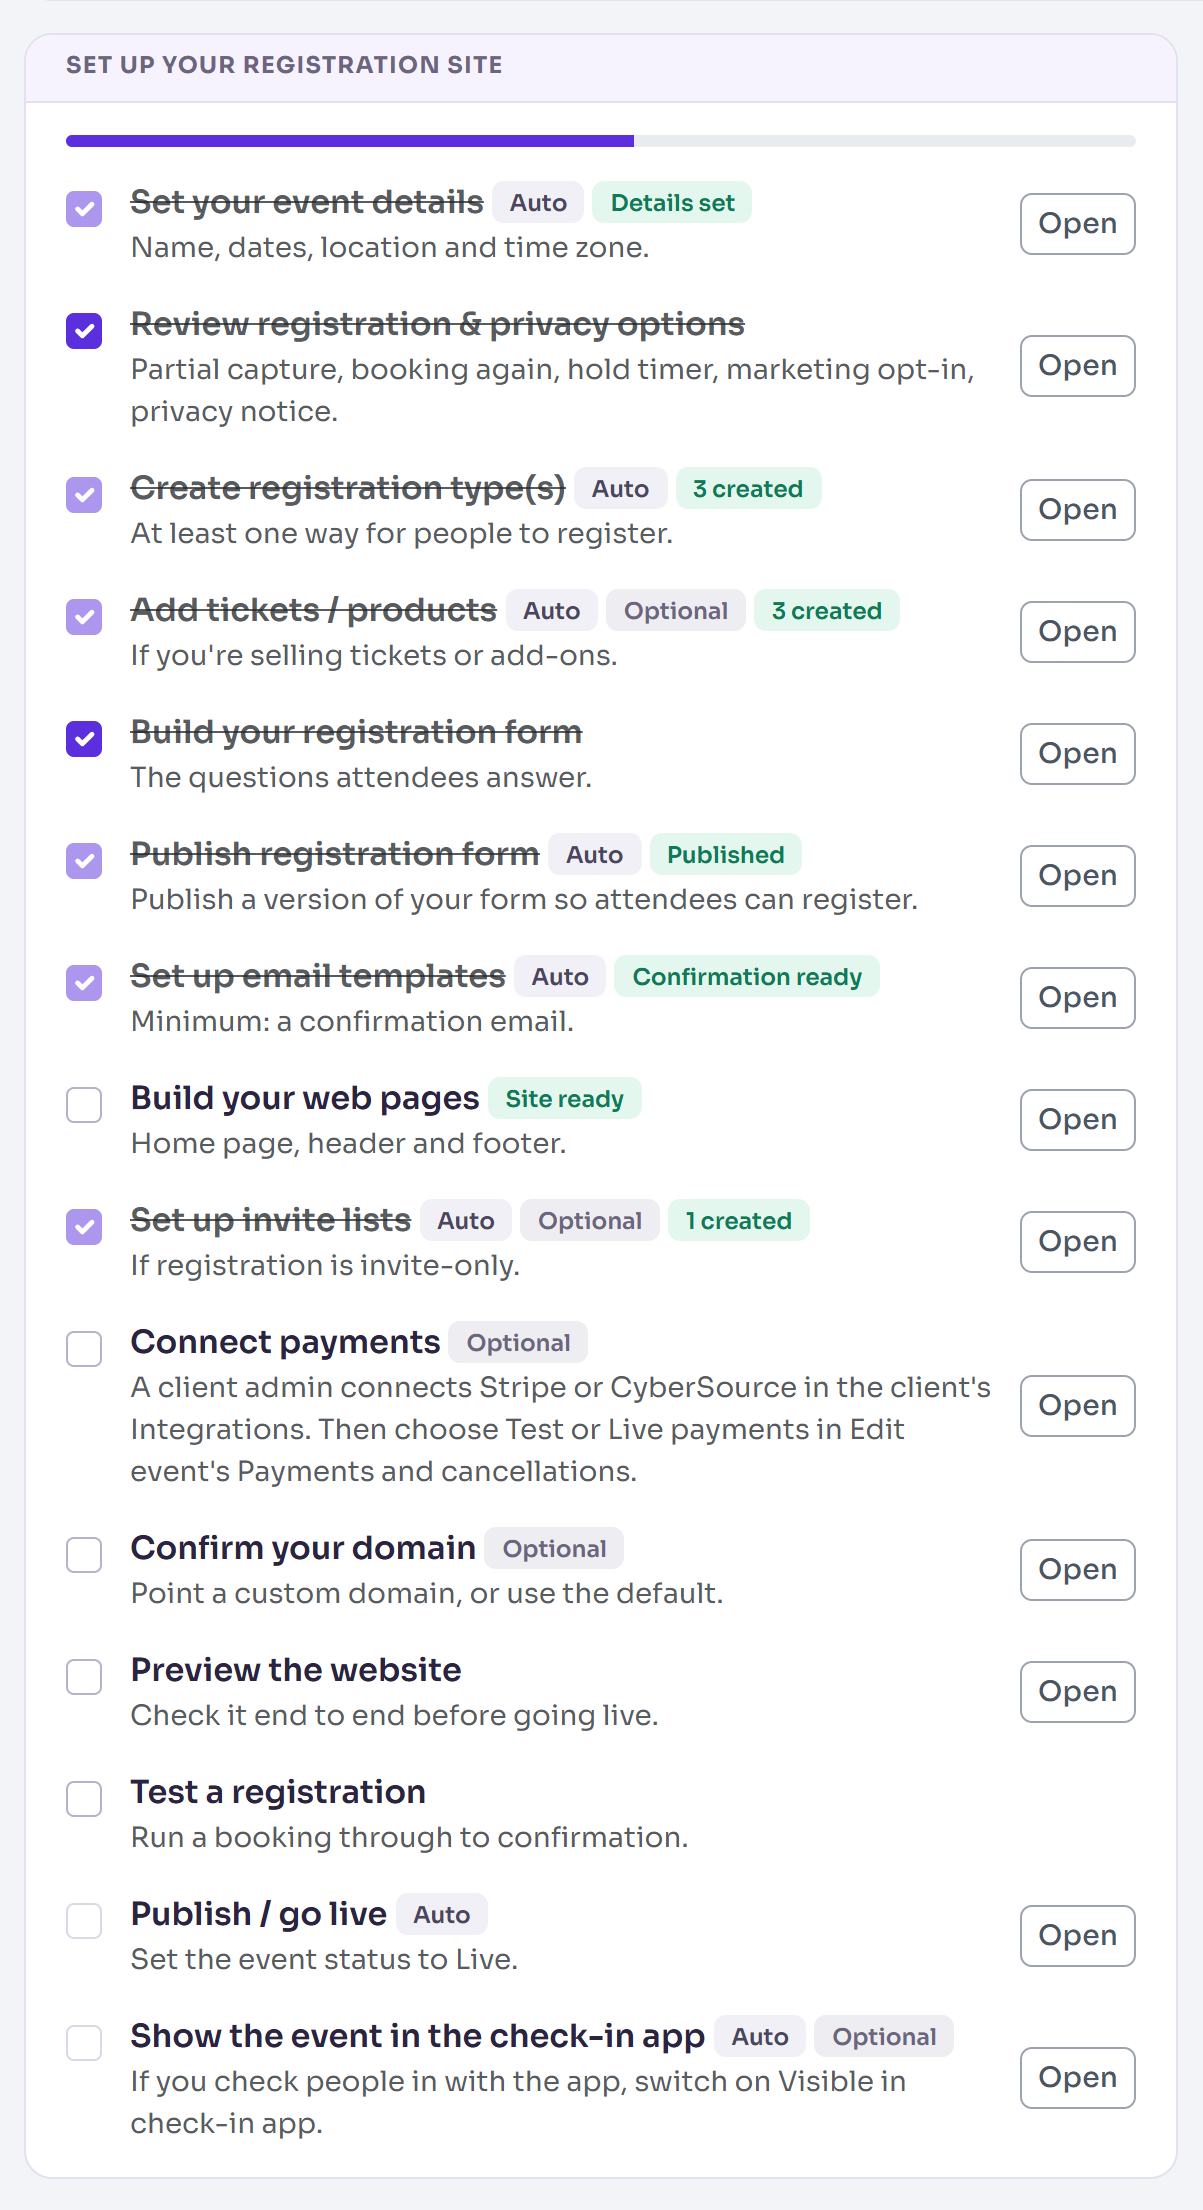
Do the step, then come back to the checklist.
If the step has no Auto badge, tick it yourself. The tick is saved straight away and Setup steps done goes up.

The button in the title row is named after the next required step still to do (for example Create registration type(s)), so you can also use it to move on.
How the steps are ticked
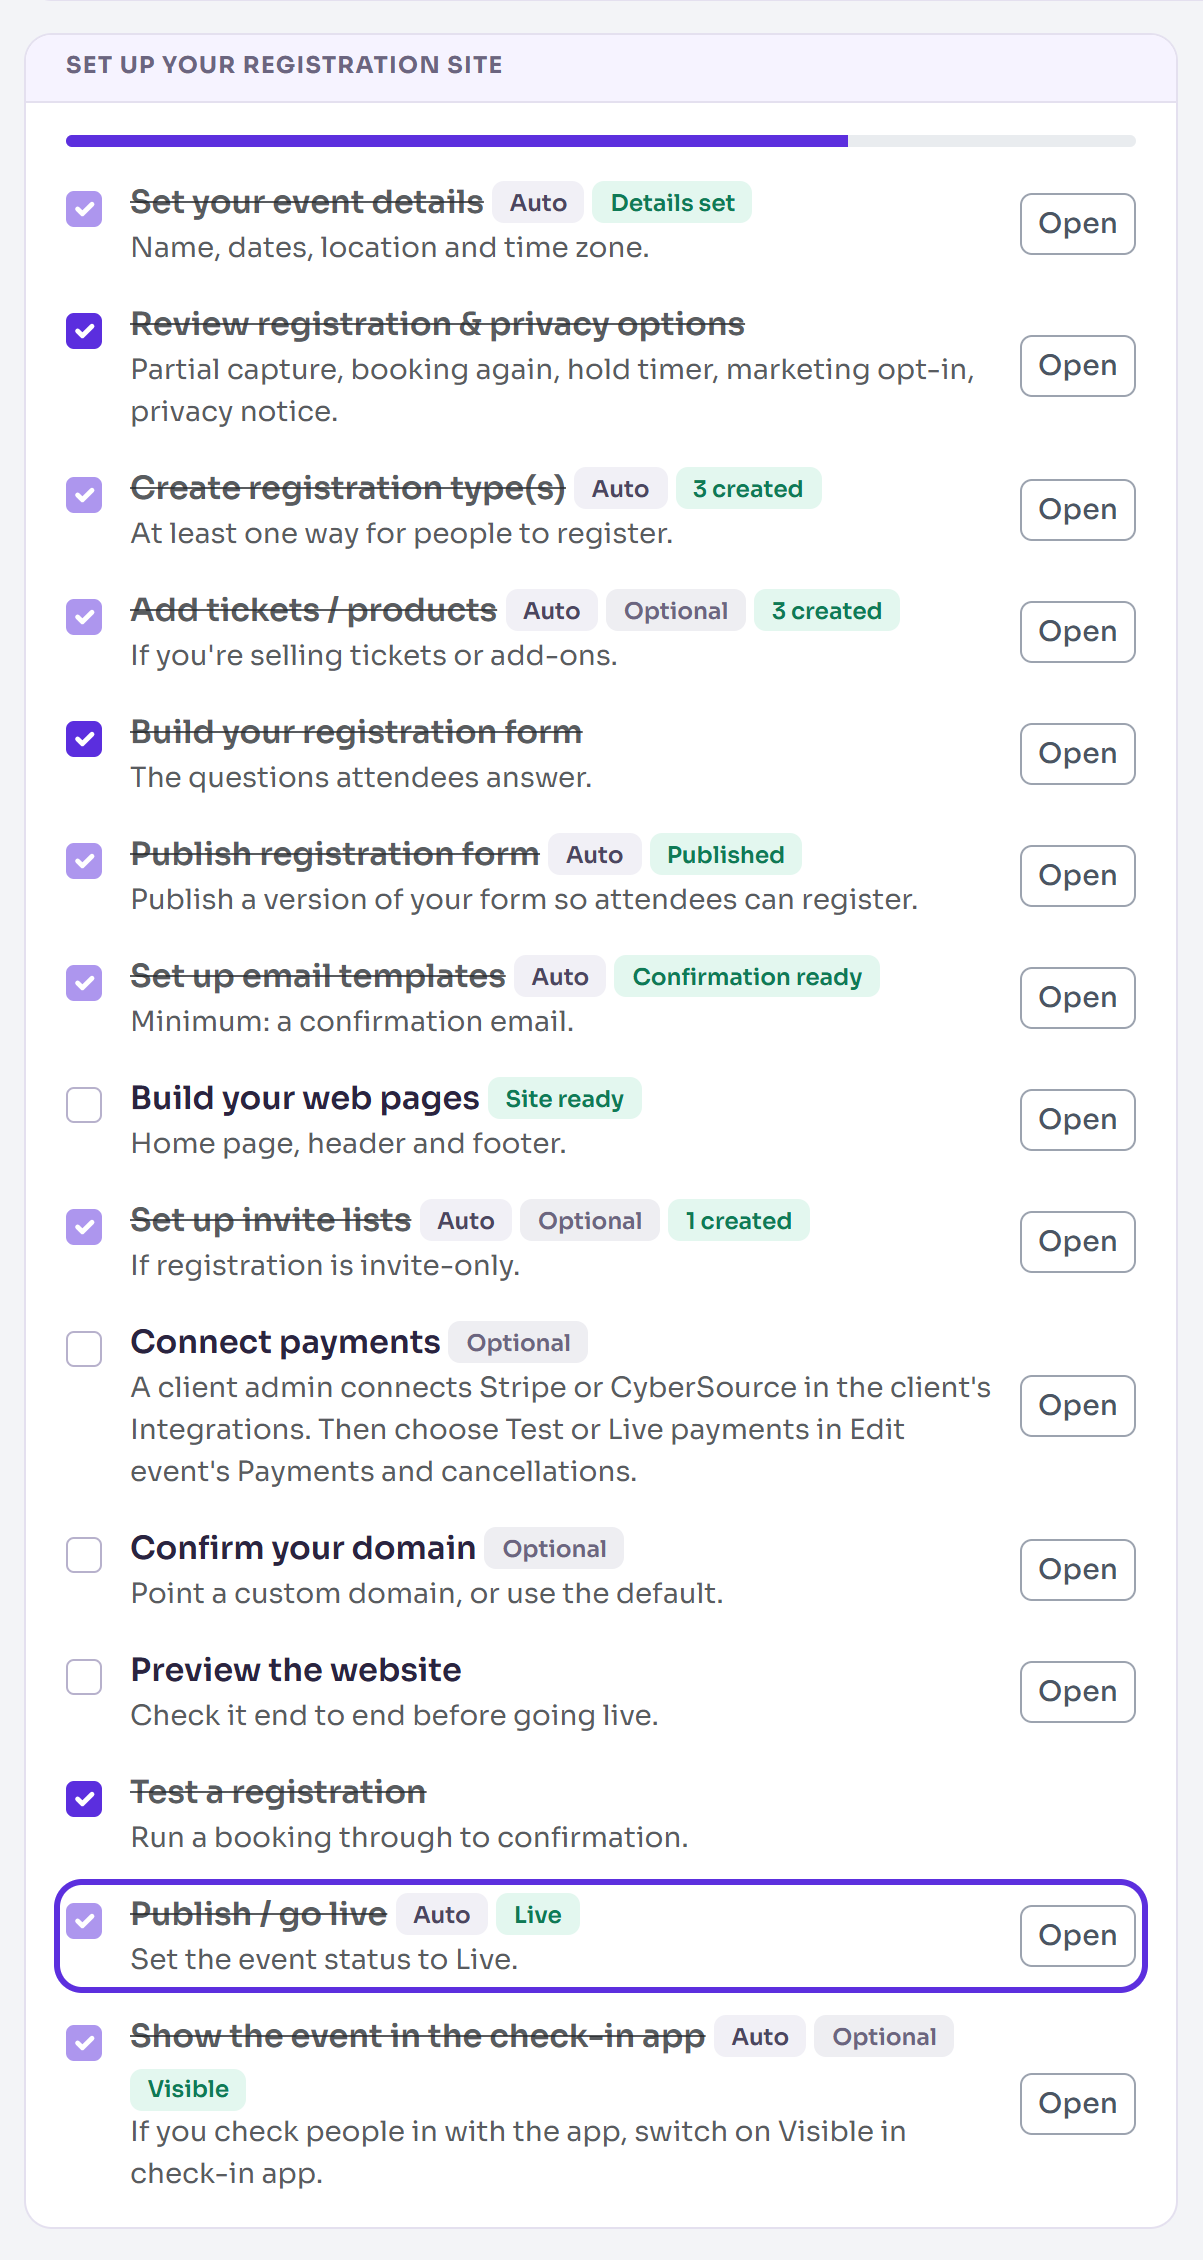
- Auto: Delekit ticks the step when it finds the work done, and says what it found ("Details set", "3 created", "Live"). You can't tick or untick these yourself.
- No badge: you tick it when you've done it. Untick it to undo.
- Optional: not every event needs it, such as tickets for a free event.
| Step | Ticked | Done when |
|---|---|---|
| Set your event details | Auto | The event has a name. |
| Review registration & privacy options | By you | You've checked the Registration, Payments and cancellations and Privacy and consent sections of Edit event. |
| Create registration type(s) | Auto | There's at least one registration type. |
| Add tickets / products | Auto, optional | There's at least one ticket or product. |
| Build your registration form | By you | Your form asks what you need. |
| Publish registration form | Auto | A registration form has a published version. |
| Publish register interest form | Auto | Only shown if the event has a Register interest form: it has a published version. |
| Set up email templates | Auto | There's a confirmation email template. |
| Build your web pages | By you | Your home page, header and footer are ready. |
| Set up invite lists | Auto, optional | There's at least one invite list. |
| Connect payments | By you, optional | Stripe or CyberSource is connected and the event's payments mode is chosen, if you sell tickets. It opens Edit event › Payments and cancellations. |
| Confirm your domain | By you, optional | Your website's address is the one you want. |
| Preview the website | By you | You've checked the website end to end. |
| Test a registration | By you | You've booked a test registration through to confirmation. |
| Publish / go live | Auto | The event's Status is Live: see Go live: the last step. |
| Show the event in the check-in app | Auto, optional | Visible in check-in app is on, if you check people in with the app. |
Go live: the last step
For Publish / go live, set Status to Live in Edit event › Details and save. The step is ticked and marked Live. If you use the Delekit check-in app, also turn on Visible in check-in app in Edit event › Check-in app: that ticks Show the event in the check-in app. See Go live with your event.
If the event collects interest first
When the event has a Register interest form, the checklist also shows a Go live card and four figures: Registered interest, Waiting for an invite, Invited and Registered. Its steps (Open registration, Give them a registration type, Invite them, and the optional Close the Register interest form) are all ticked by Delekit, as the people who registered interest move on to full registration.
What happens next
When every step is ticked, Setup steps done shows the full count and 100% complete. Nothing is emailed or published by the checklist itself.
If something isn't right
- An Auto step isn't ticked, but you've done it: check what it looks for in the table. Set up email templates needs a confirmation email, not just any template.
- Publish / go live isn't ticked: check Status is Live in Edit event › Details, and that you selected Save changes.
- Show the event in the check-in app isn't ticked: turn on Visible in check-in app in Edit event › Check-in app, then select Save changes.
- Payments can't be chosen in Connect payments: a client administrator connects Stripe or CyberSource in the client's integrations first: see Take payments with Stripe or Take payments with CyberSource. Then tick the step.
Related articles
Still stuck? Contact Delekit support.
Was this article helpful?
That’s Great!
Thank you for your feedback
Sorry! We couldn't be helpful
Thank you for your feedback
Feedback sent
We appreciate your effort and will try to fix the article