Audience: client administrators and event administrators. Applies to: all plans.
Before you open registration, book a place yourself on your public registration form, as an attendee would: choose tickets, answer your questions, pay, and check the confirmation page and email. Then mark the booking as a test, so it stays out of your attendee list, reports and figures, and delete it when you've finished.
Before you start
- Publish your registration form with public access. Its Form link is on the form's settings: in the menu, select Registration, then Registration form, tick the form and select Edit settings in the Actions menu. Your website's register button uses the same link.
- If the event sells tickets, leave Payments mode on Test, so no real money is taken. See Switch between test and live payments. To test without a card, turn on Allow paying by invoice in Edit event › Payments and cancellations.
- Use an email address you can read, as the confirmation email is sent to it. Use one that isn't already in this event: for an email it already has, the form first emails a one-time code to that address.
Book a test registration
Open the Form link in a private (incognito) browser window, so you see the form as the public does.
Under Admission, choose how many tickets you want, and any Add-ons. The total updates as you go.
Under Your details, enter a First name, Last name and Email, then select Continue.
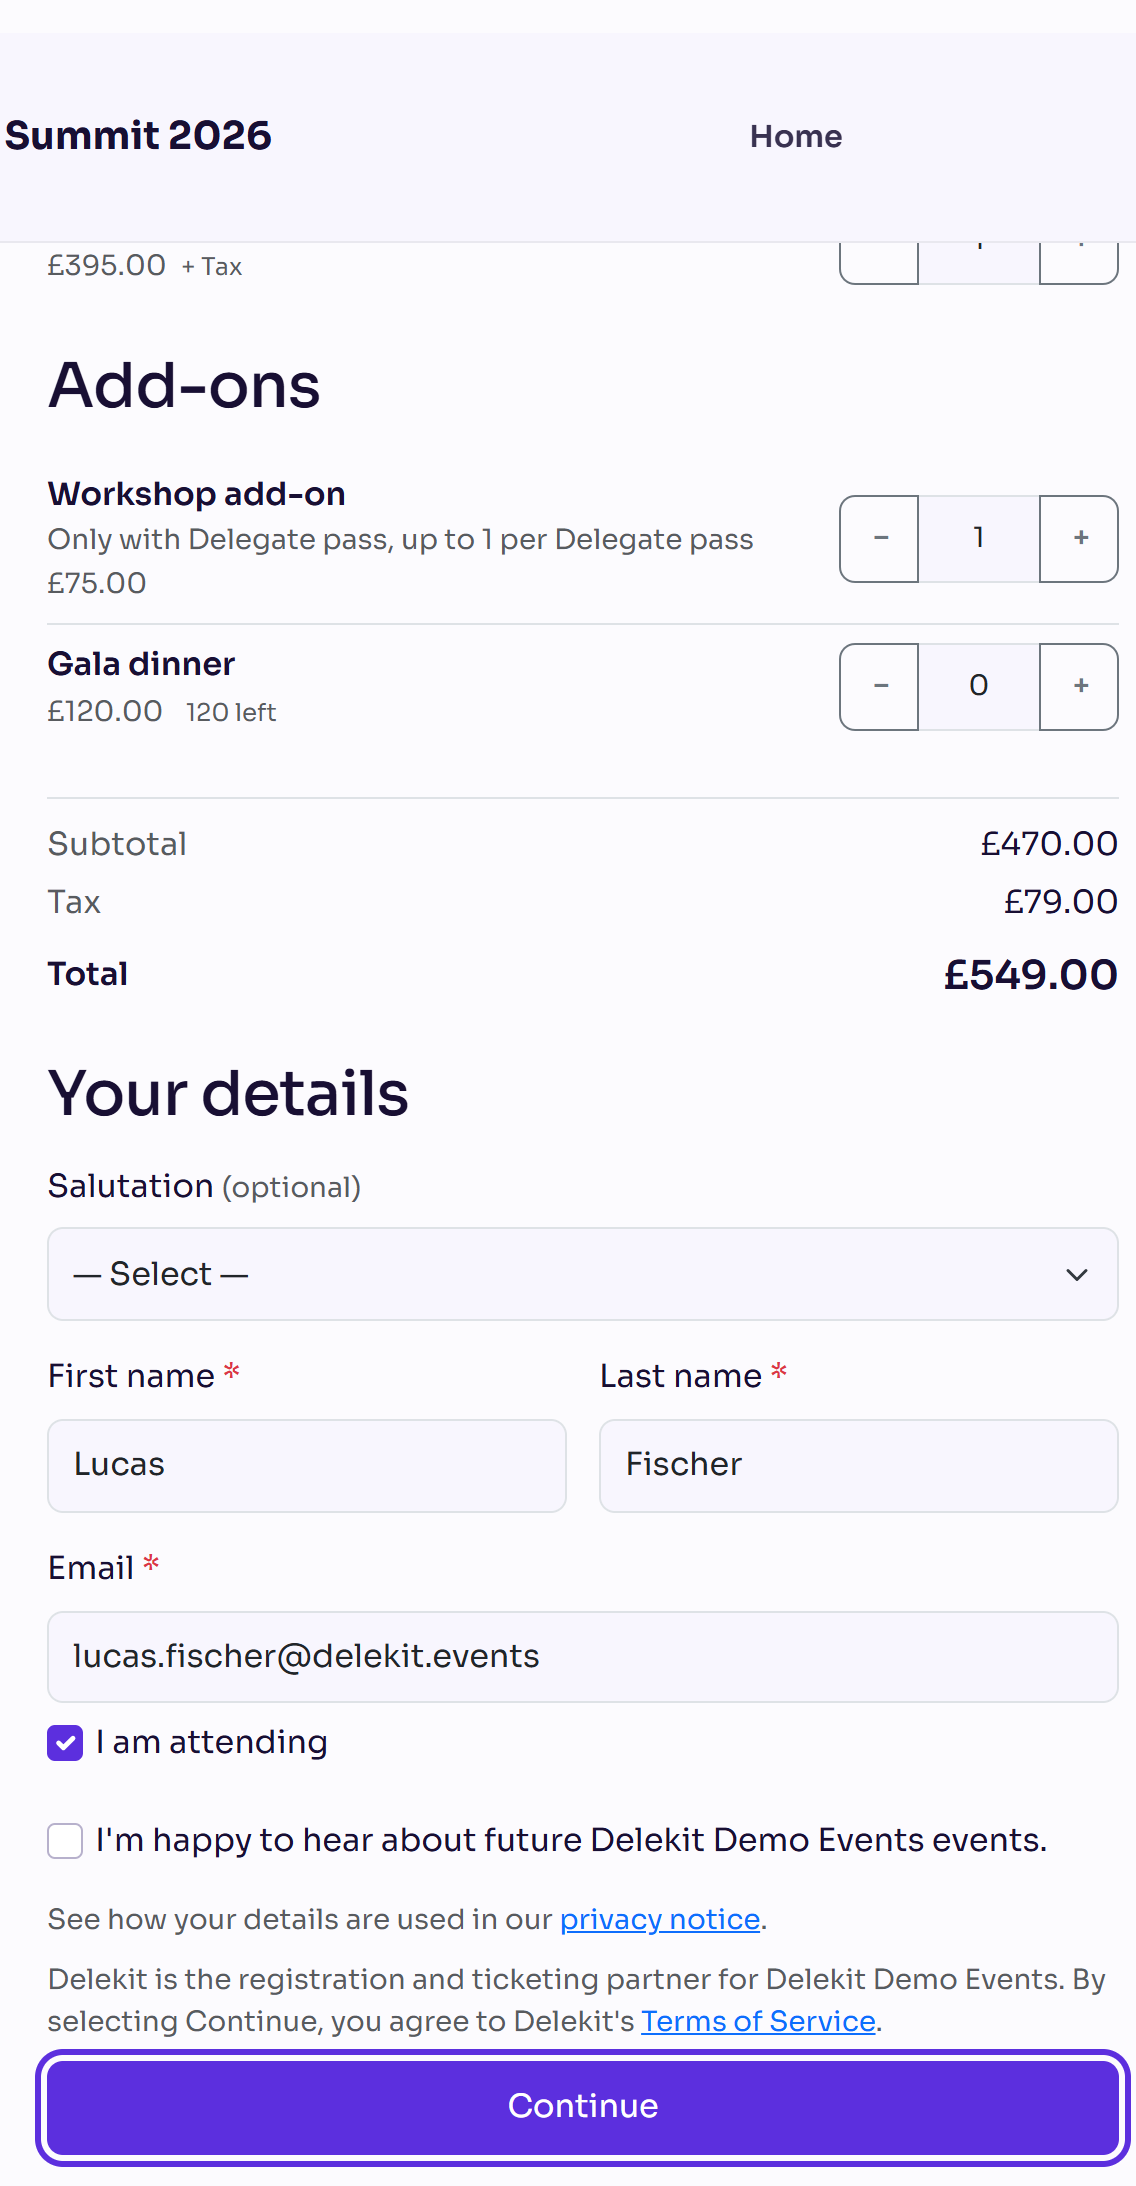
If your form has questions, answer them on Additional information, then select Continue.
On Payment, choose Pay by card and use a test card, or choose Pay by invoice and fill in the billing details.
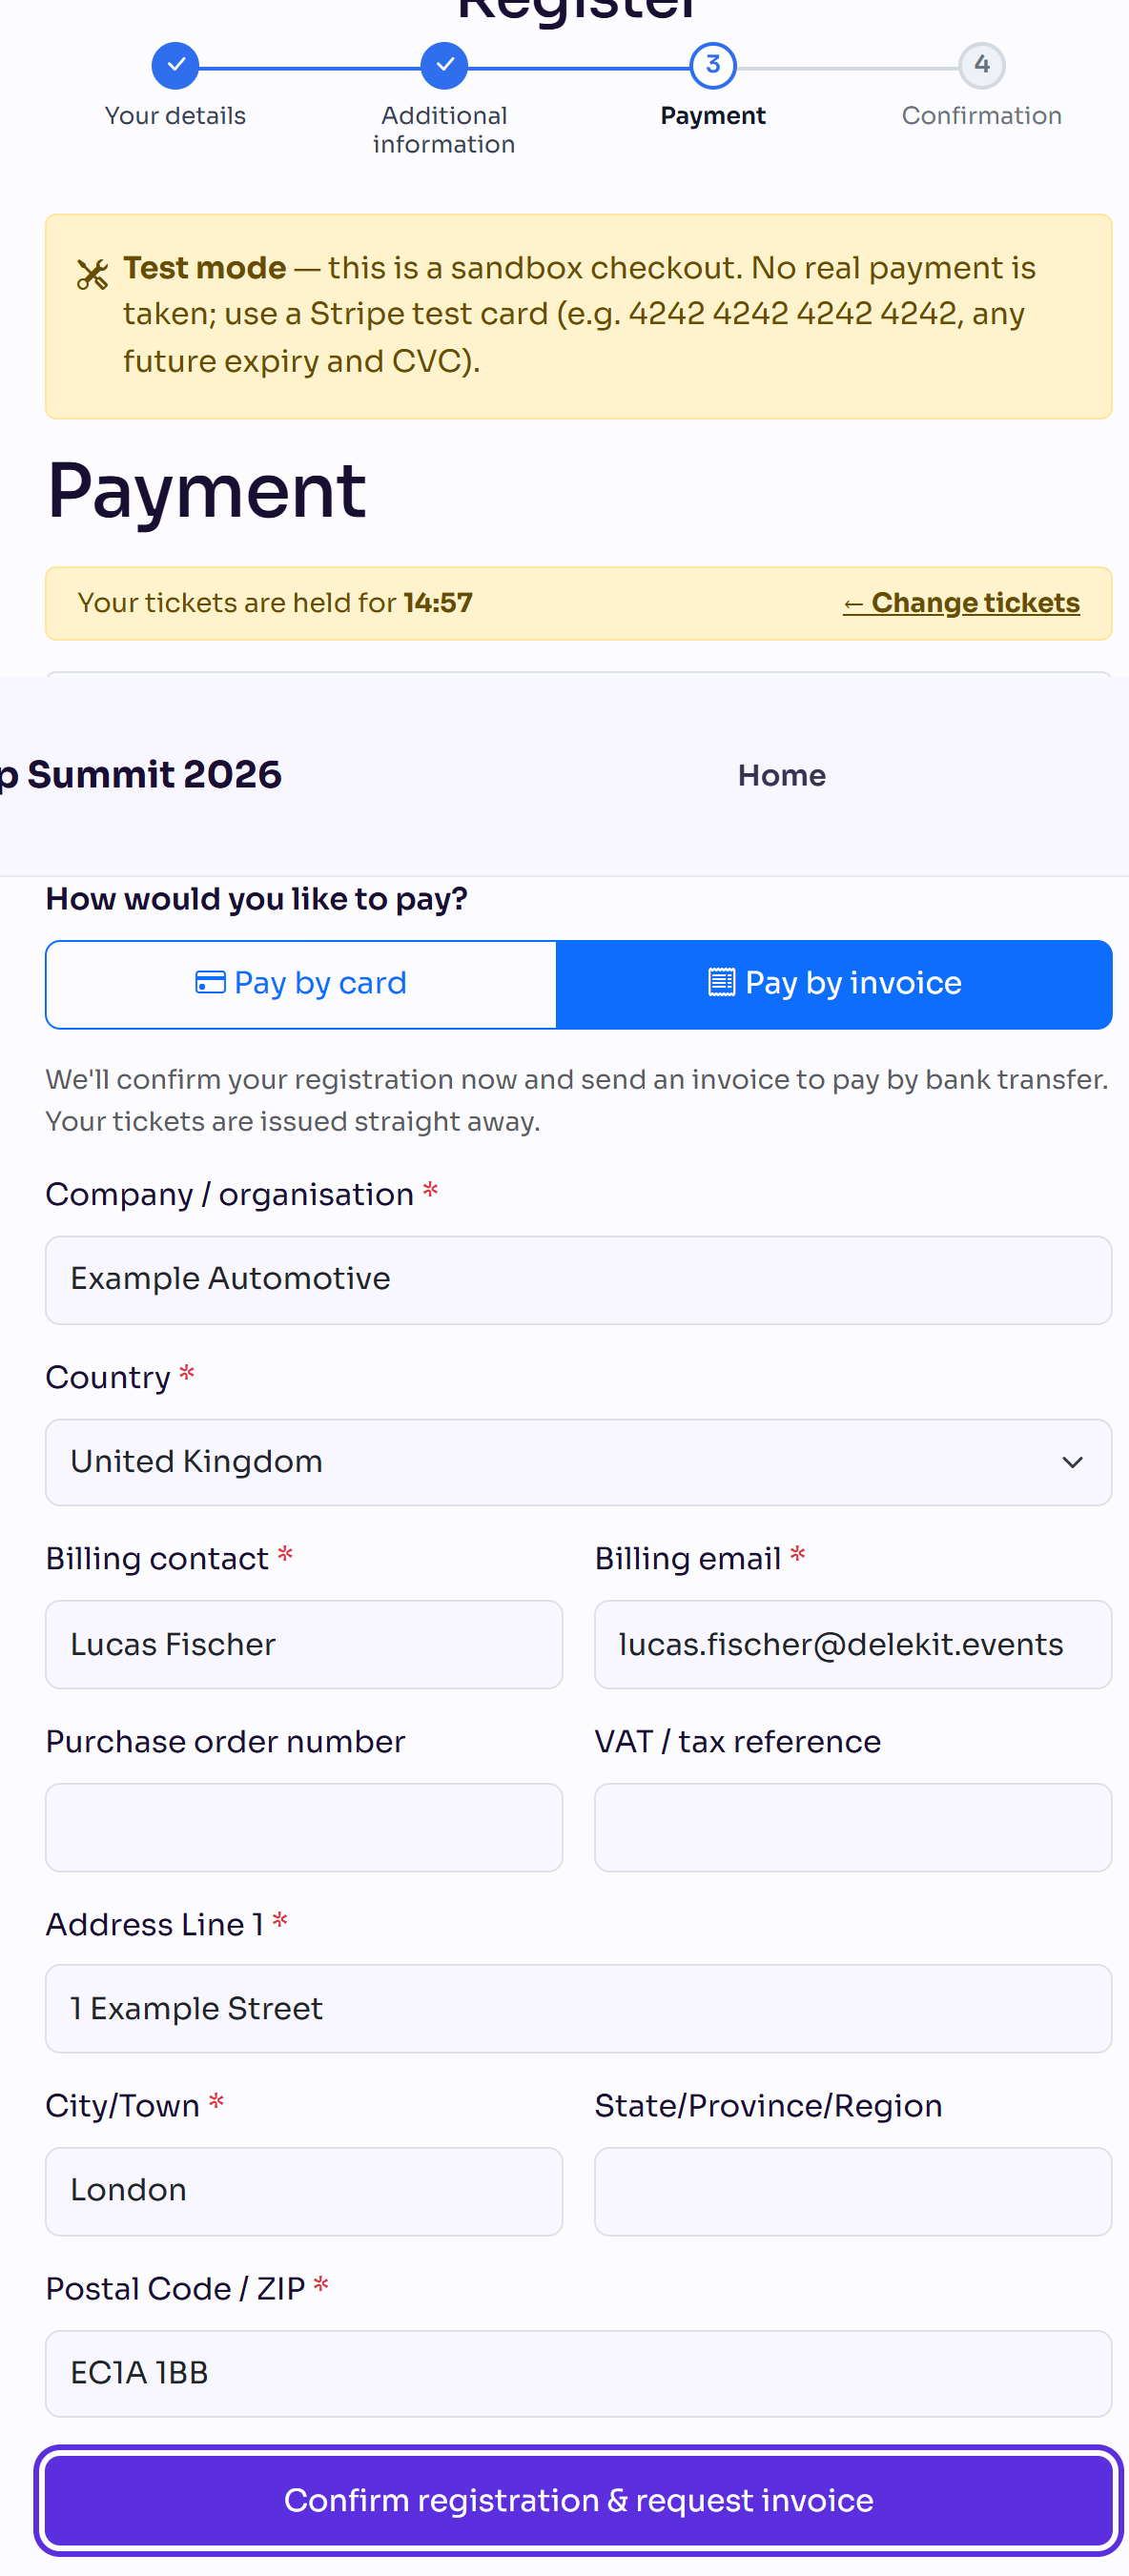
Select Pay now, or Confirm registration & request invoice.
Check the confirmation page, and the confirmation email when it arrives.
Mark it as a test
A booking paid with a test card in Test mode is marked as a test for you. A booking paid by invoice, or a free one, isn't, so mark it yourself:
In the menu, select Attendees, then View all.
Search for the email you used, then select the person's name.
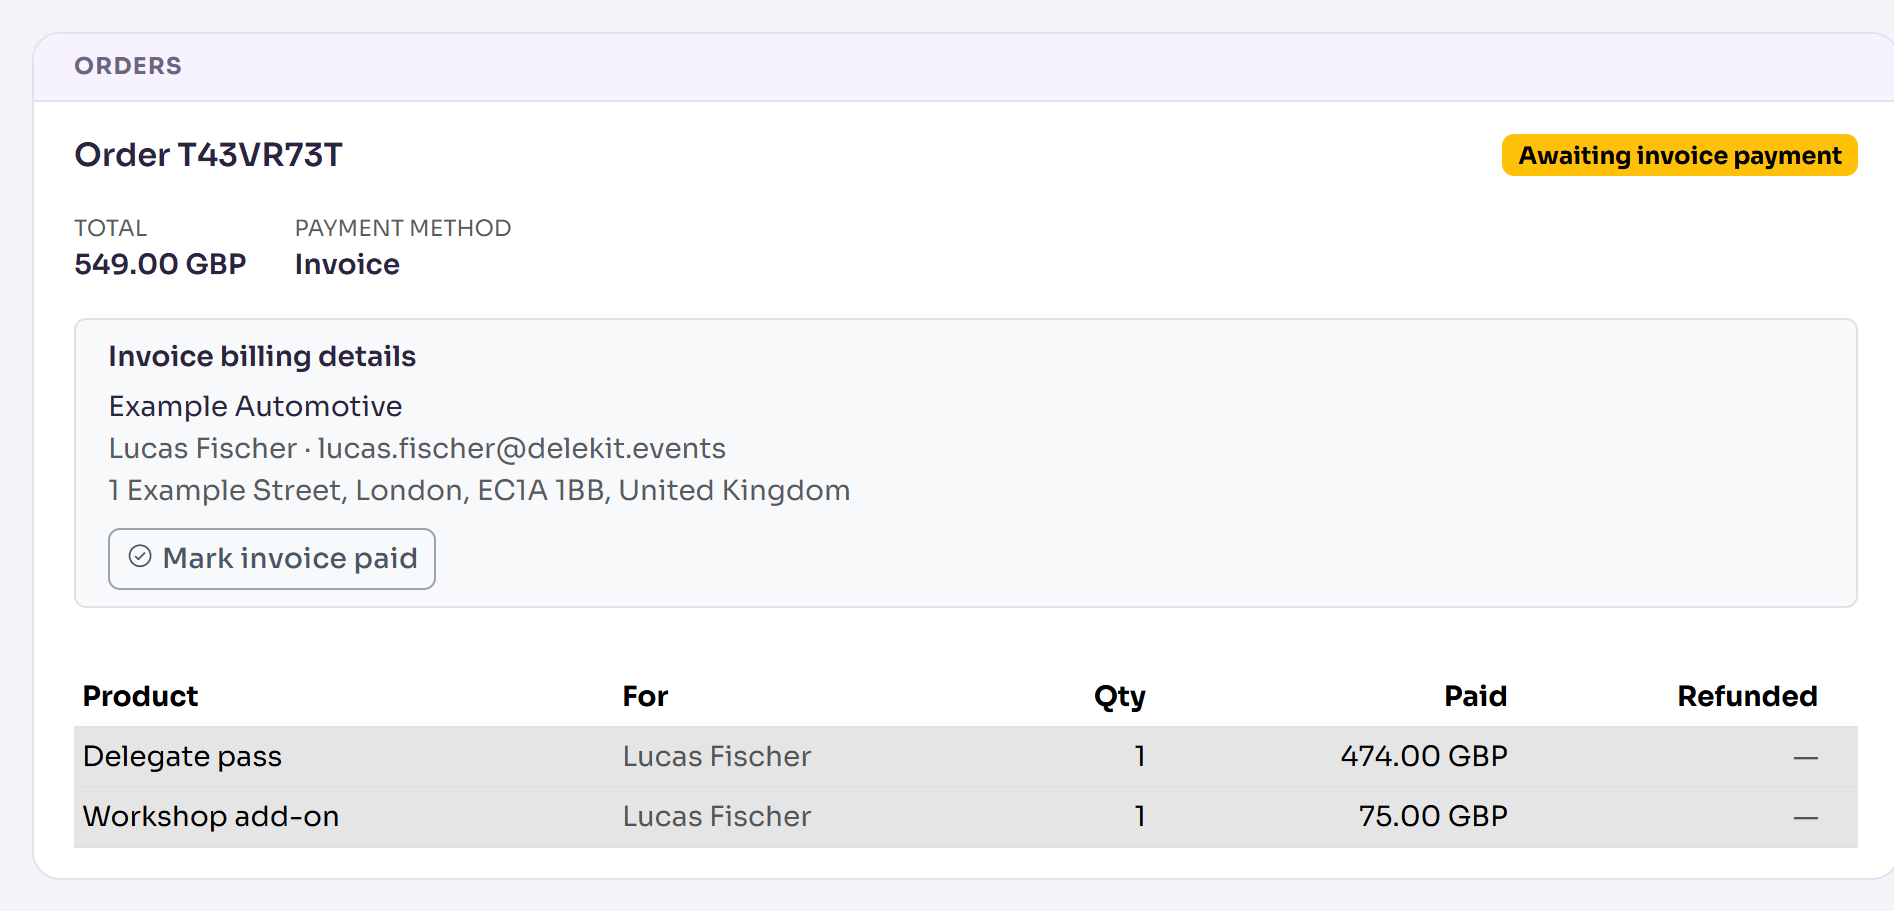
Check that Registration shows Confirmed, and Orders shows the order. An invoice order shows Awaiting invoice payment and the billing details.
In Details, turn on Test attendee.
Select Save changes.
Find and remove test registrations
Test attendees are hidden from the attendee list, session management and reports, and left out of the overview's figures, so they don't affect your real numbers. A report can include them with its Include test attendees filter.
In Attendees, tick Show test on the toolbar. Test attendees show with a Test tag.
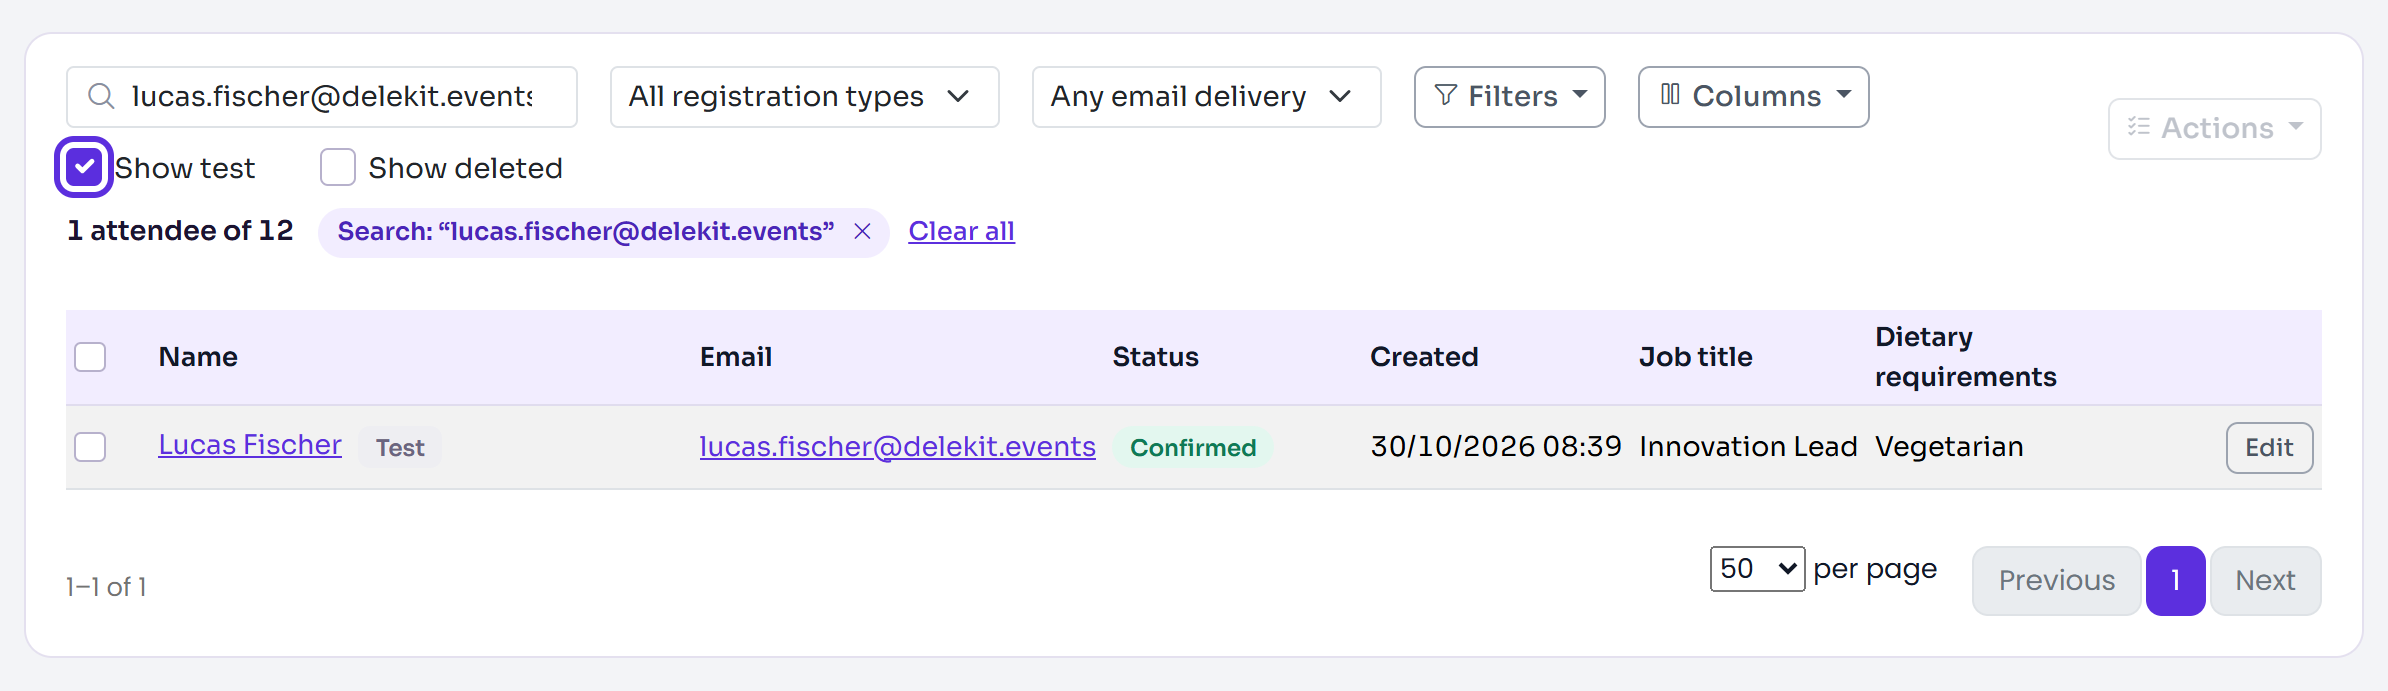
To remove them, tick them, then in the Actions menu select Delete, and confirm.
Deleting also cancels the registration, without sending an email. If anyone you delete has paid, you're offered a refund first. You can bring them back with Show deleted and Restore.
What happens next
- A test booking takes its places until you delete it, as any booking does.
- The registration's emails go to the address you used. An invoice booking is confirmed straight away; you don't need to select Mark invoice paid for a test.
If something isn't right
- The form asks for a code: that email is already in the event. Use another address.
- The Payment page says Test mode: that's right for a test. Switch to live payments only when you're ready: see Go live with your event.
- No Pay by invoice: turn on Allow paying by invoice in Edit event › Payments and cancellations.
- The booking isn't in the list: tick Show test. Test-card bookings are marked as tests automatically.
Related articles
- Use the setup checklist to launch your event
- Switch between test and live payments
- Go live with your event
Still stuck? Contact Delekit support.
Was this article helpful?
That’s Great!
Thank you for your feedback
Sorry! We couldn't be helpful
Thank you for your feedback
Feedback sent
We appreciate your effort and will try to fix the article