Audience: client administrators. Applies to: all plans.
Create a new event from All events with the New event wizard: a name, dates and a time zone are all it needs. The event starts as a draft with its own (unpublished) website, so nobody can see or book it until you're ready to go live.
Before you start
- You need to be a client administrator. Only client administrators see New event. If you can't see it, ask a client administrator in your organisation to create the event, or to give you that role.
- Working for more than one organisation? Choose the right one from Customer in the menu first.
- Have the basics ready: the event's name, its start and end date and time, and the time zone it takes place in. Everything else can be changed later.
- You can't change an event's Code once it's created. Delekit makes one for you.
Create the event
In the menu, select All events, then select New event.
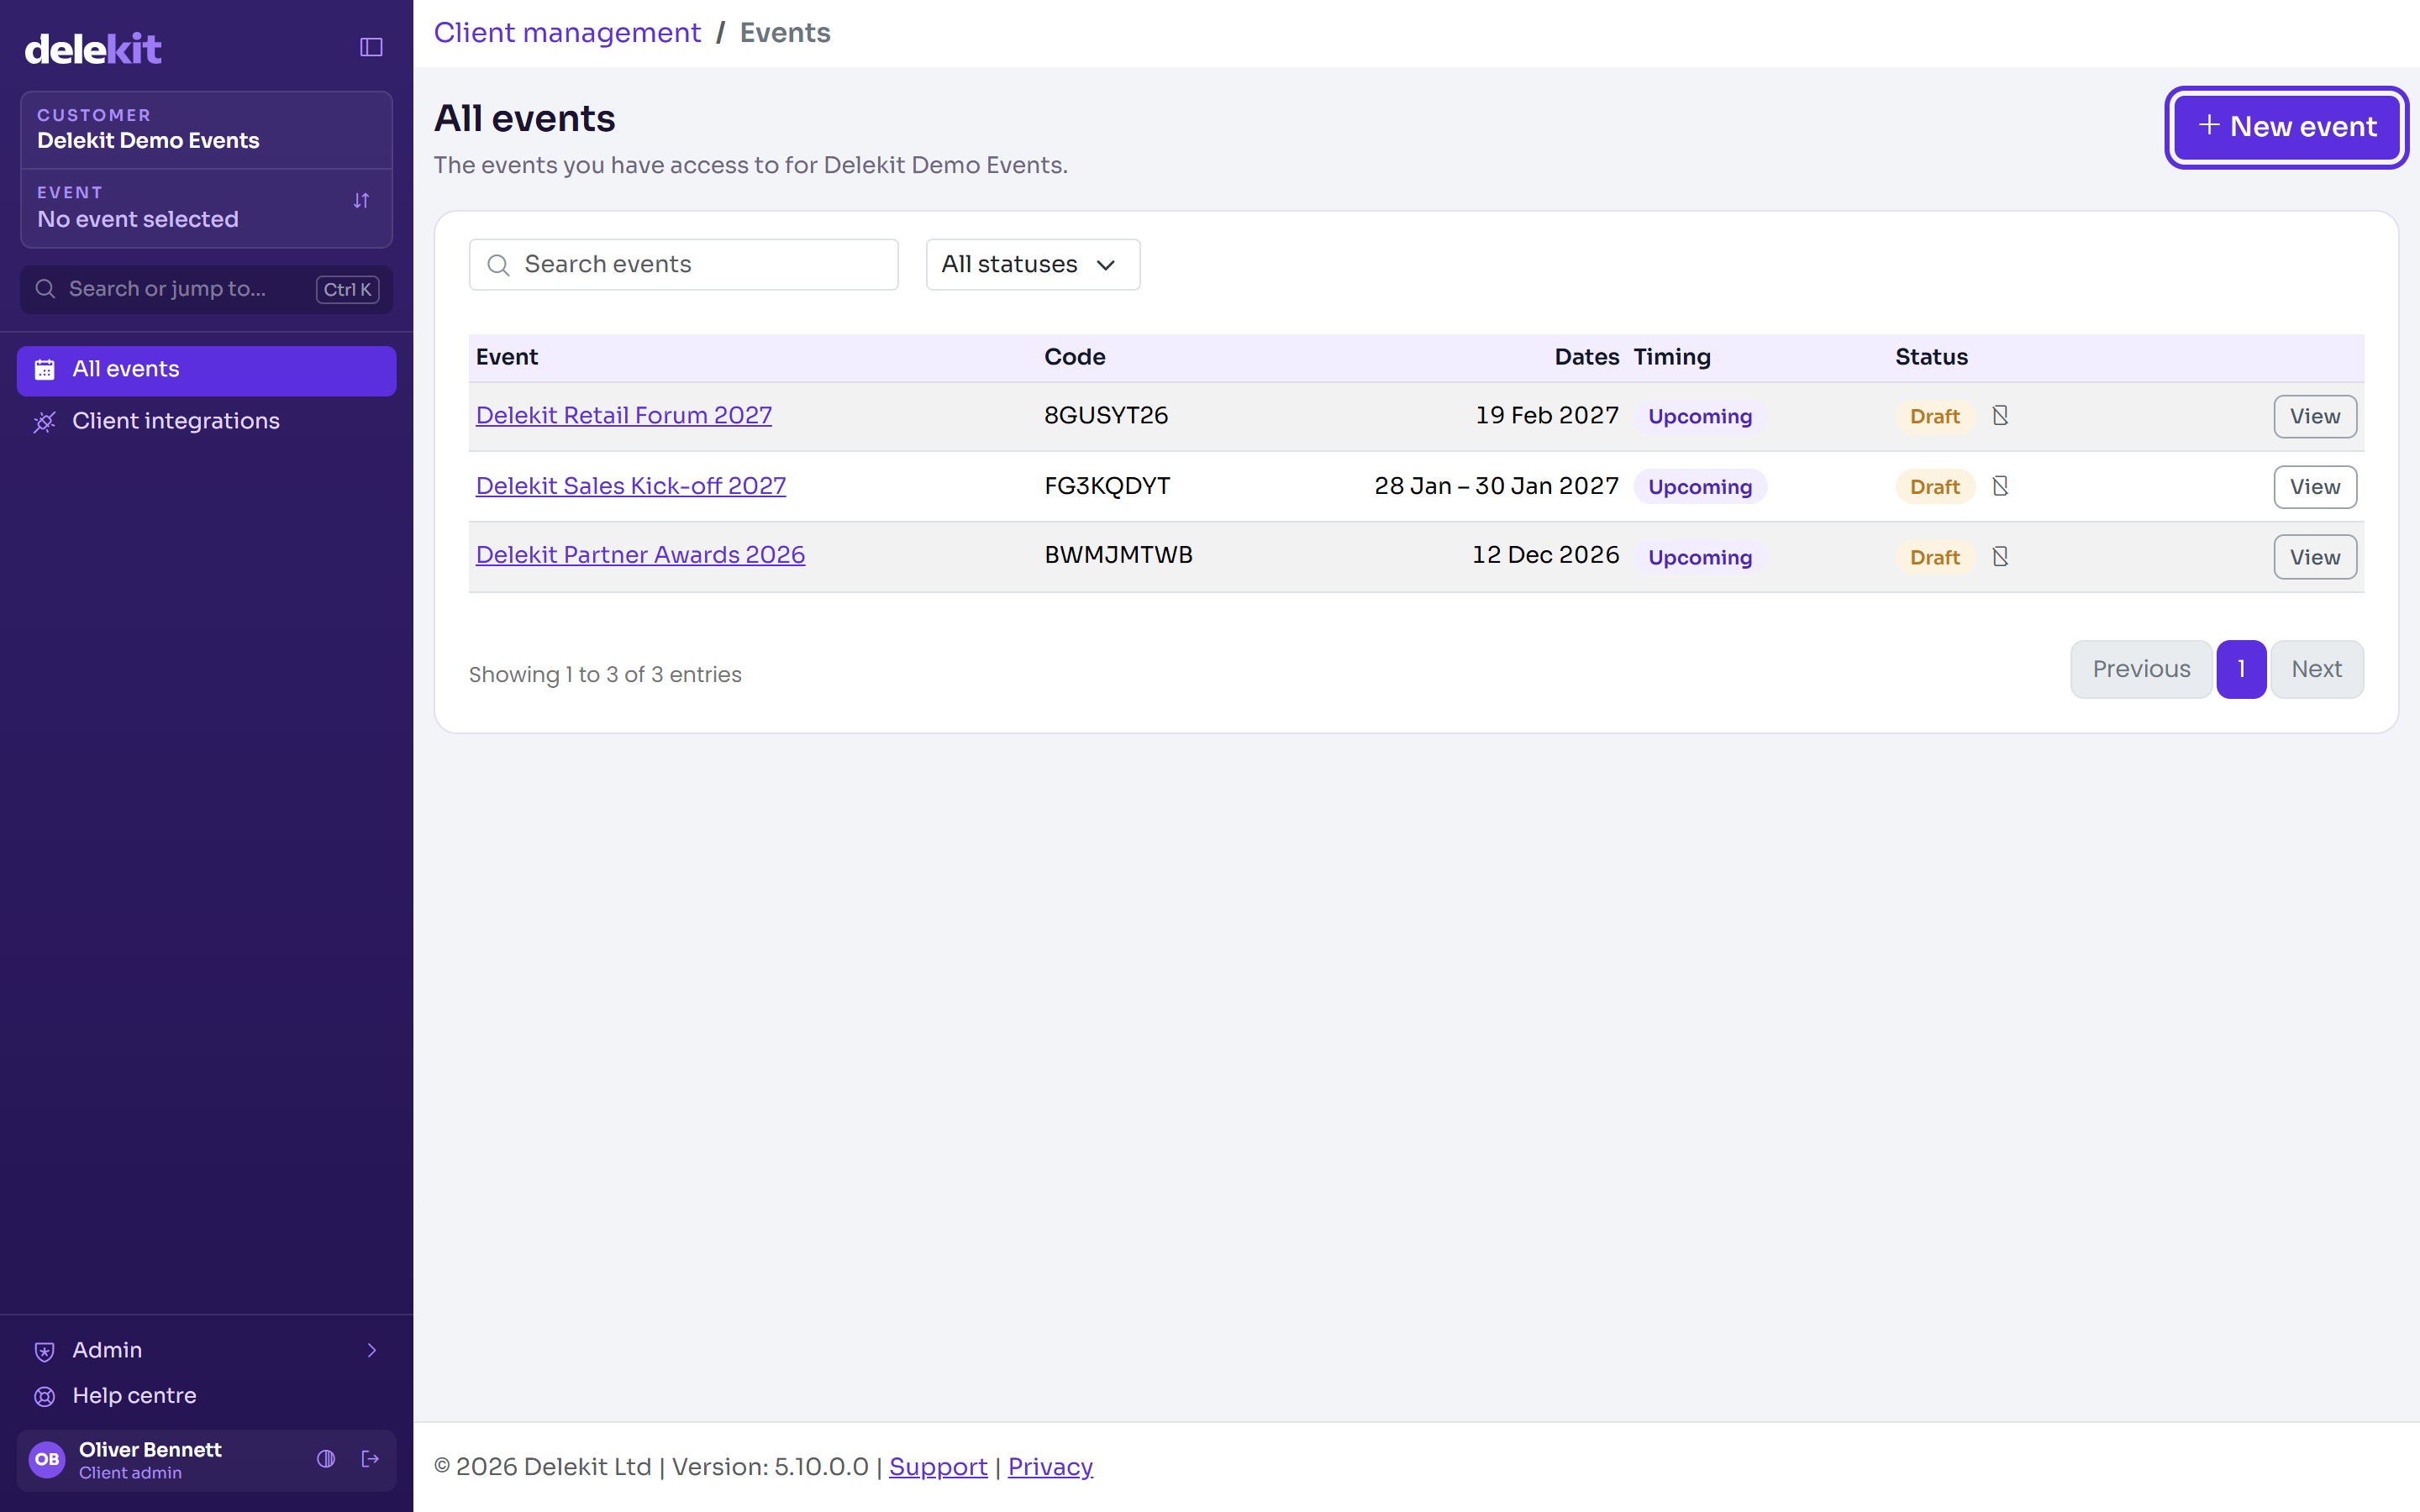
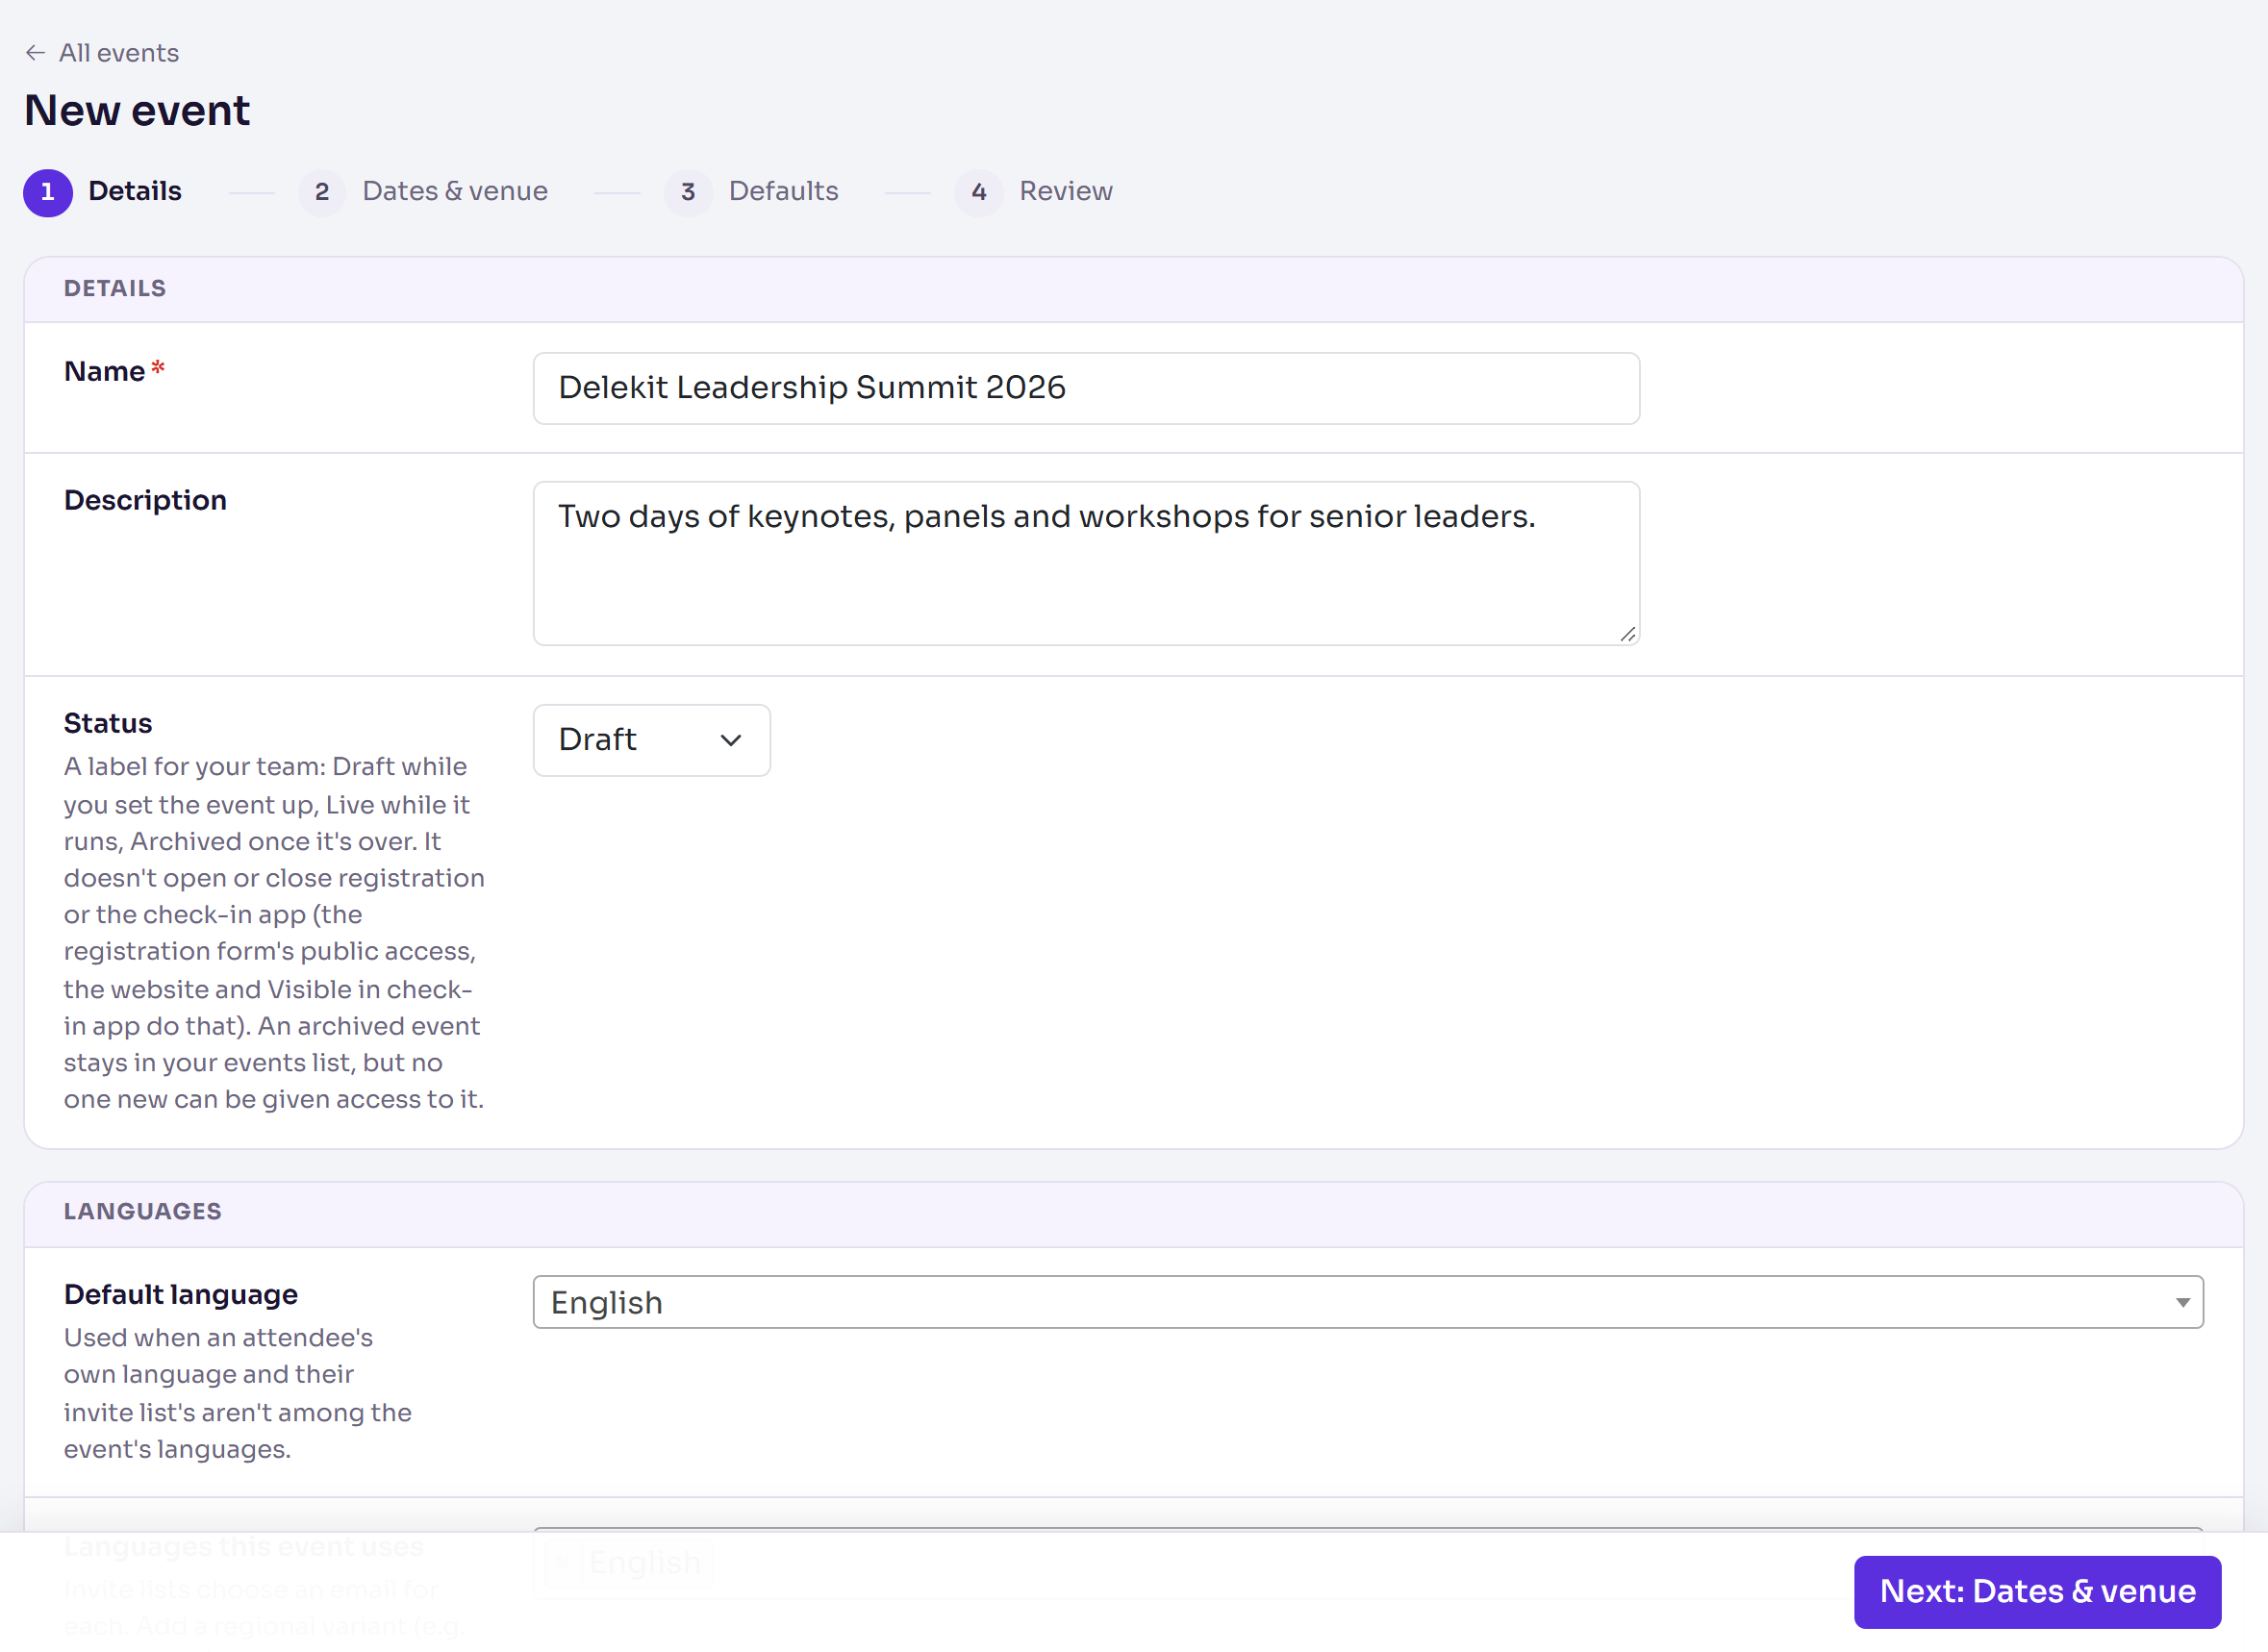
On Details, enter the event's Name as attendees will see it, and a short Description if you like. Leave Status at Draft while you set up.
Select Next: Dates & venue. Enter the Location, then the Start date & time and End date & time (type them as dd/mm/yyyy hh:mm or pick them from the calendar).
Choose the Time zone: start typing a city, such as London. Check this every time. It starts on UTC, and the event's dates and times are read in this time zone.
Select Next: Defaults and check the starting settings (explained in The starting settings). The usual choices are already made, and you can change any of them later in Edit event.
Select Next: Review. Check what you've entered. To change something, select Change next to it.
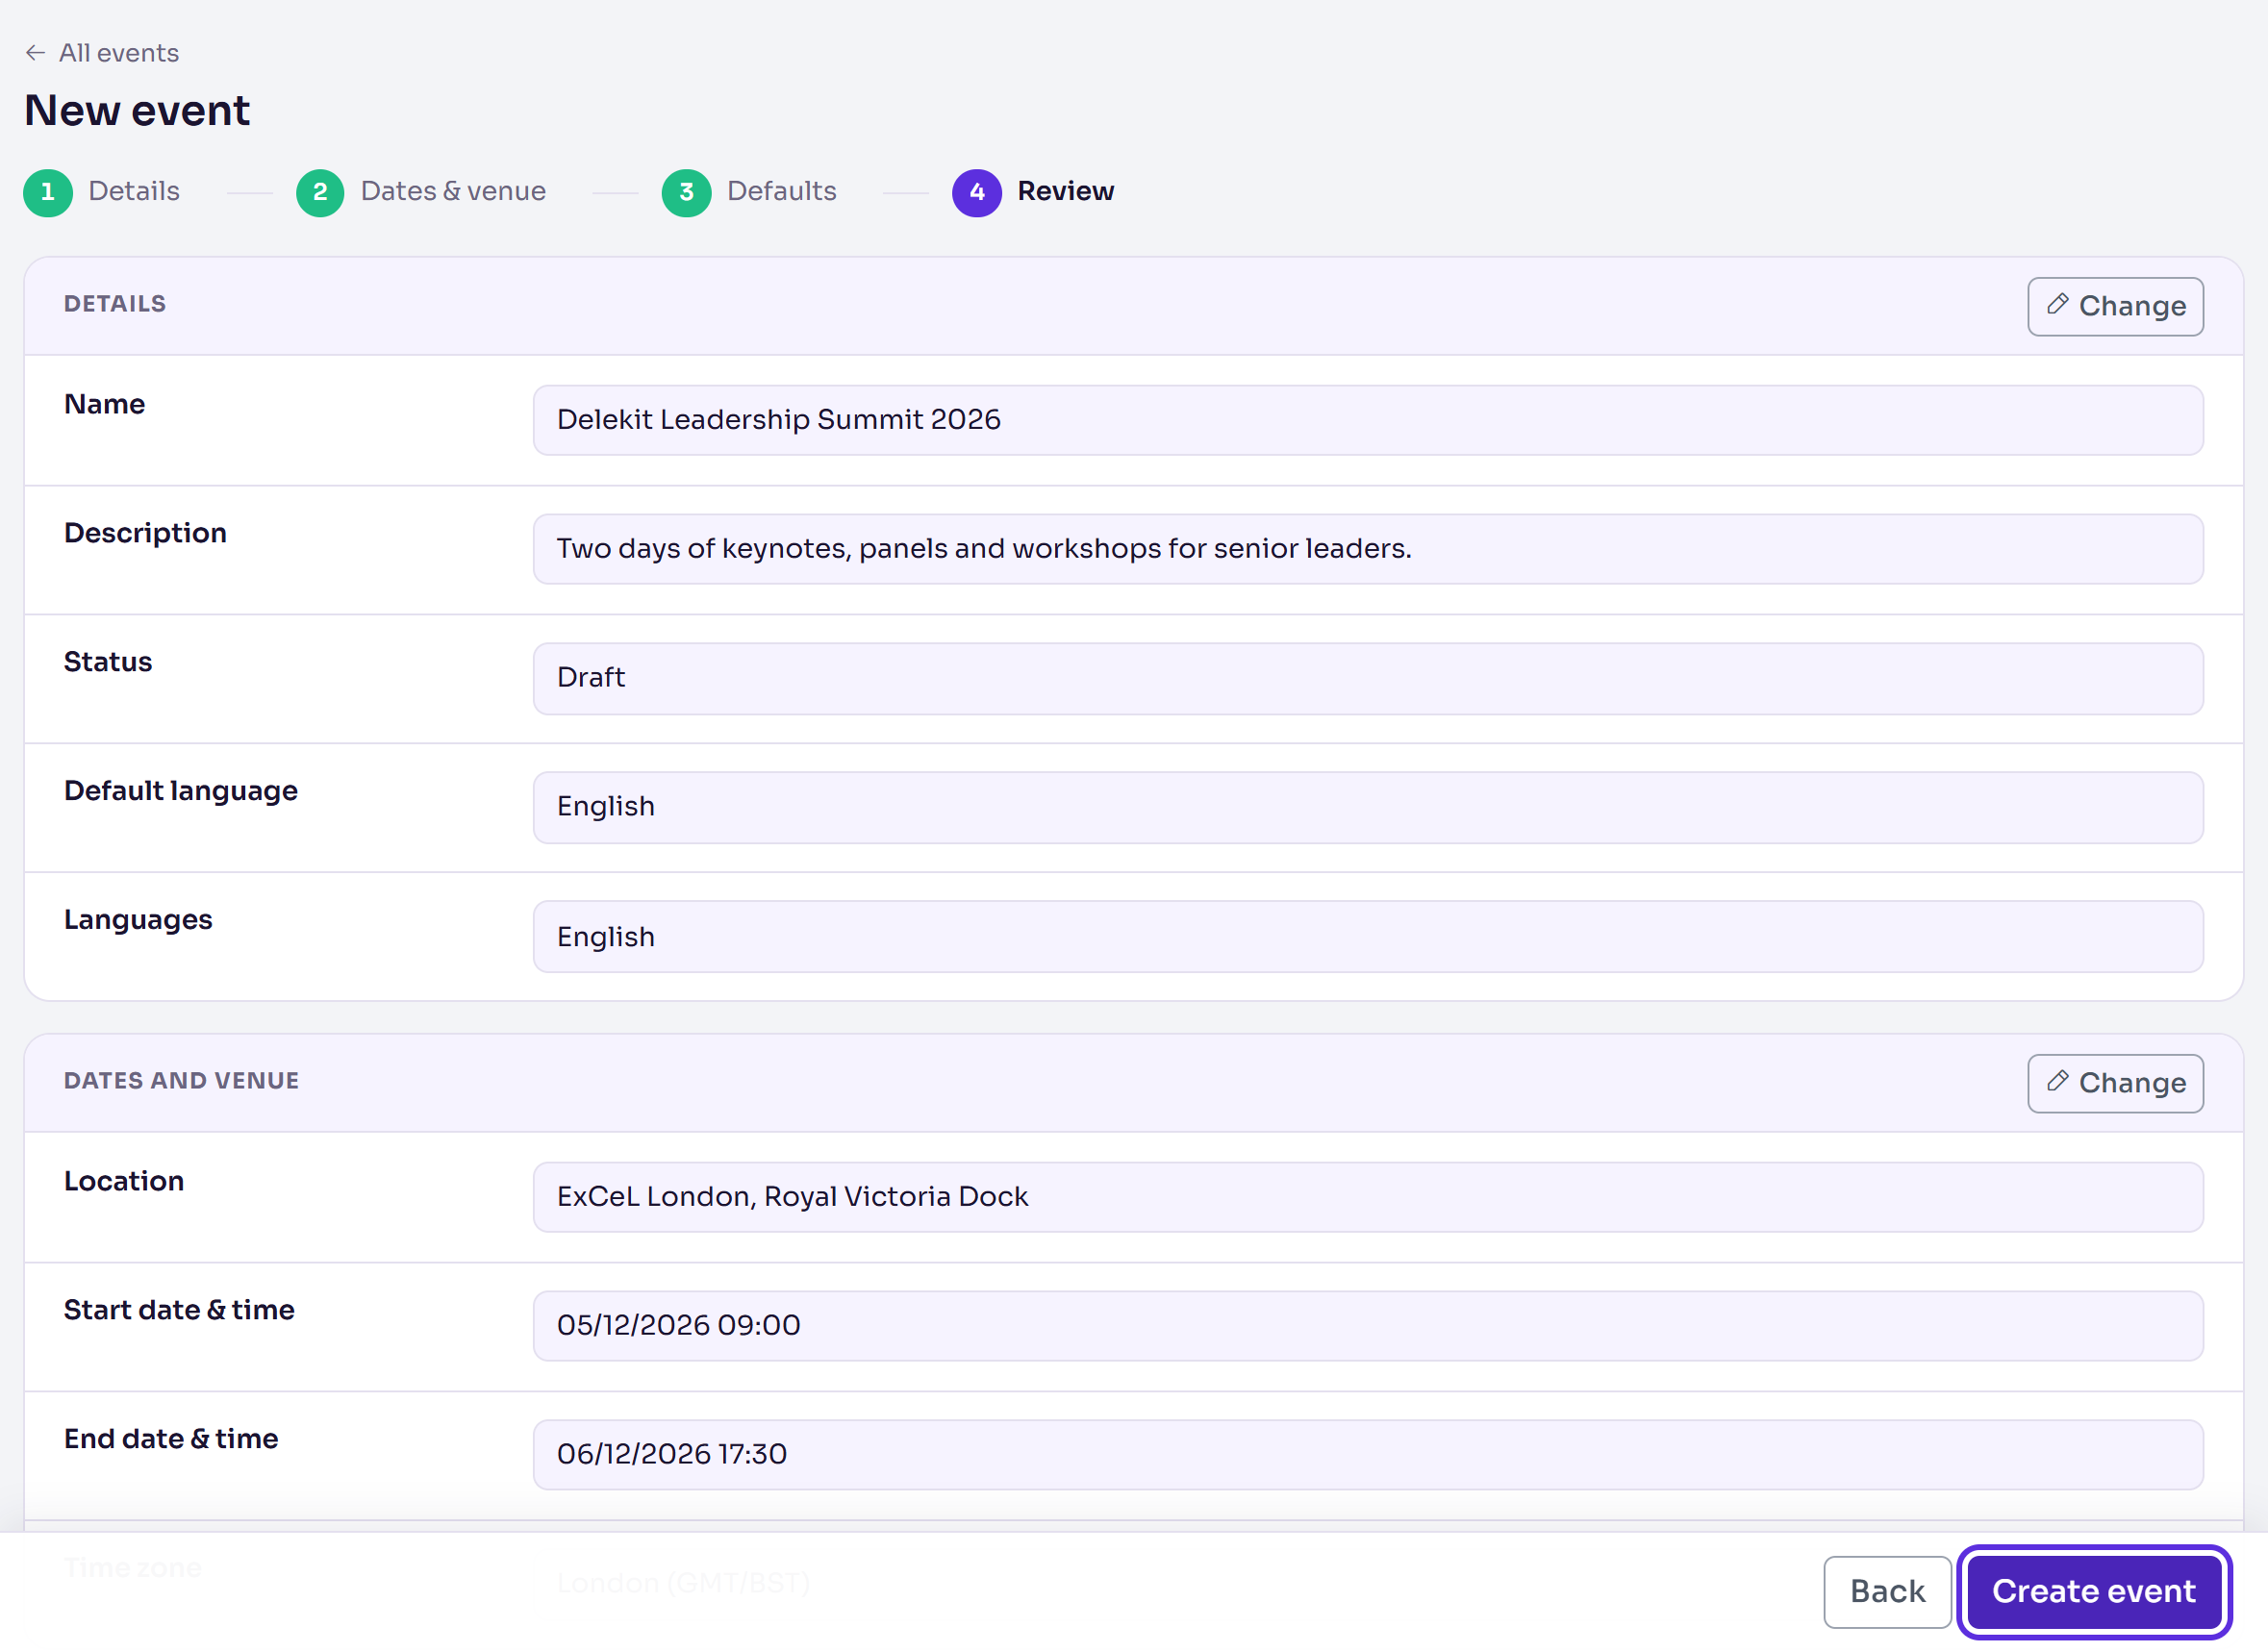
Select Create event.
If something required is missing, the wizard goes back to that step and says what, for example "Name is required."
The starting settings
The Defaults step sets how registration works for this event. You don't need to change anything to create it.
| Section | What it controls | Starts as |
|---|---|---|
| Email templates | Start from our default templates copies your organisation's default emails into the event as drafts. | Off |
| Custom fields | Add our standard fields adds the fields from your field library. | On |
| Registration | Saving answers as people type, booking for someone else, what happens when someone books again with the same email, and blocking personal email domains. | Answers saved; booking for others allowed; new tickets join the existing booking |
| Payments and cancellations | Payments mode, paying by invoice, holding tickets during checkout, and whether and until when registrations can be cancelled. | Test (no real money); cancelling allowed |
| Privacy and consent | A marketing opt-in, and the link to your privacy notice. | No opt-in |
| Check-in app | Whether the event shows in the Delekit check-in app. | Hidden |
Leave Payments mode on Test while you set up and try the checkout with test cards. Switch it to Live before you sell real tickets: see Take payments with Stripe.
What happens next
The event opens in Edit event, with a Changes saved message, and the menu now shows the event's own sections: Overview, Setup checklist, Attendees, Registration, Website and the rest.
- The event is a draft. It isn't in the check-in app, and nothing is public.
- You're added to the event as an event administrator.
- A website is created for it, with a Register page, a header and footer, and the pages people see after registering or cancelling. None of them is published yet.
- If you turned them on, your default email templates are copied in as drafts, and your standard fields are added.
- Nothing else is set up yet. Registration types, the registration form, tickets, invite lists, sessions and emails are the next steps.
Check it works
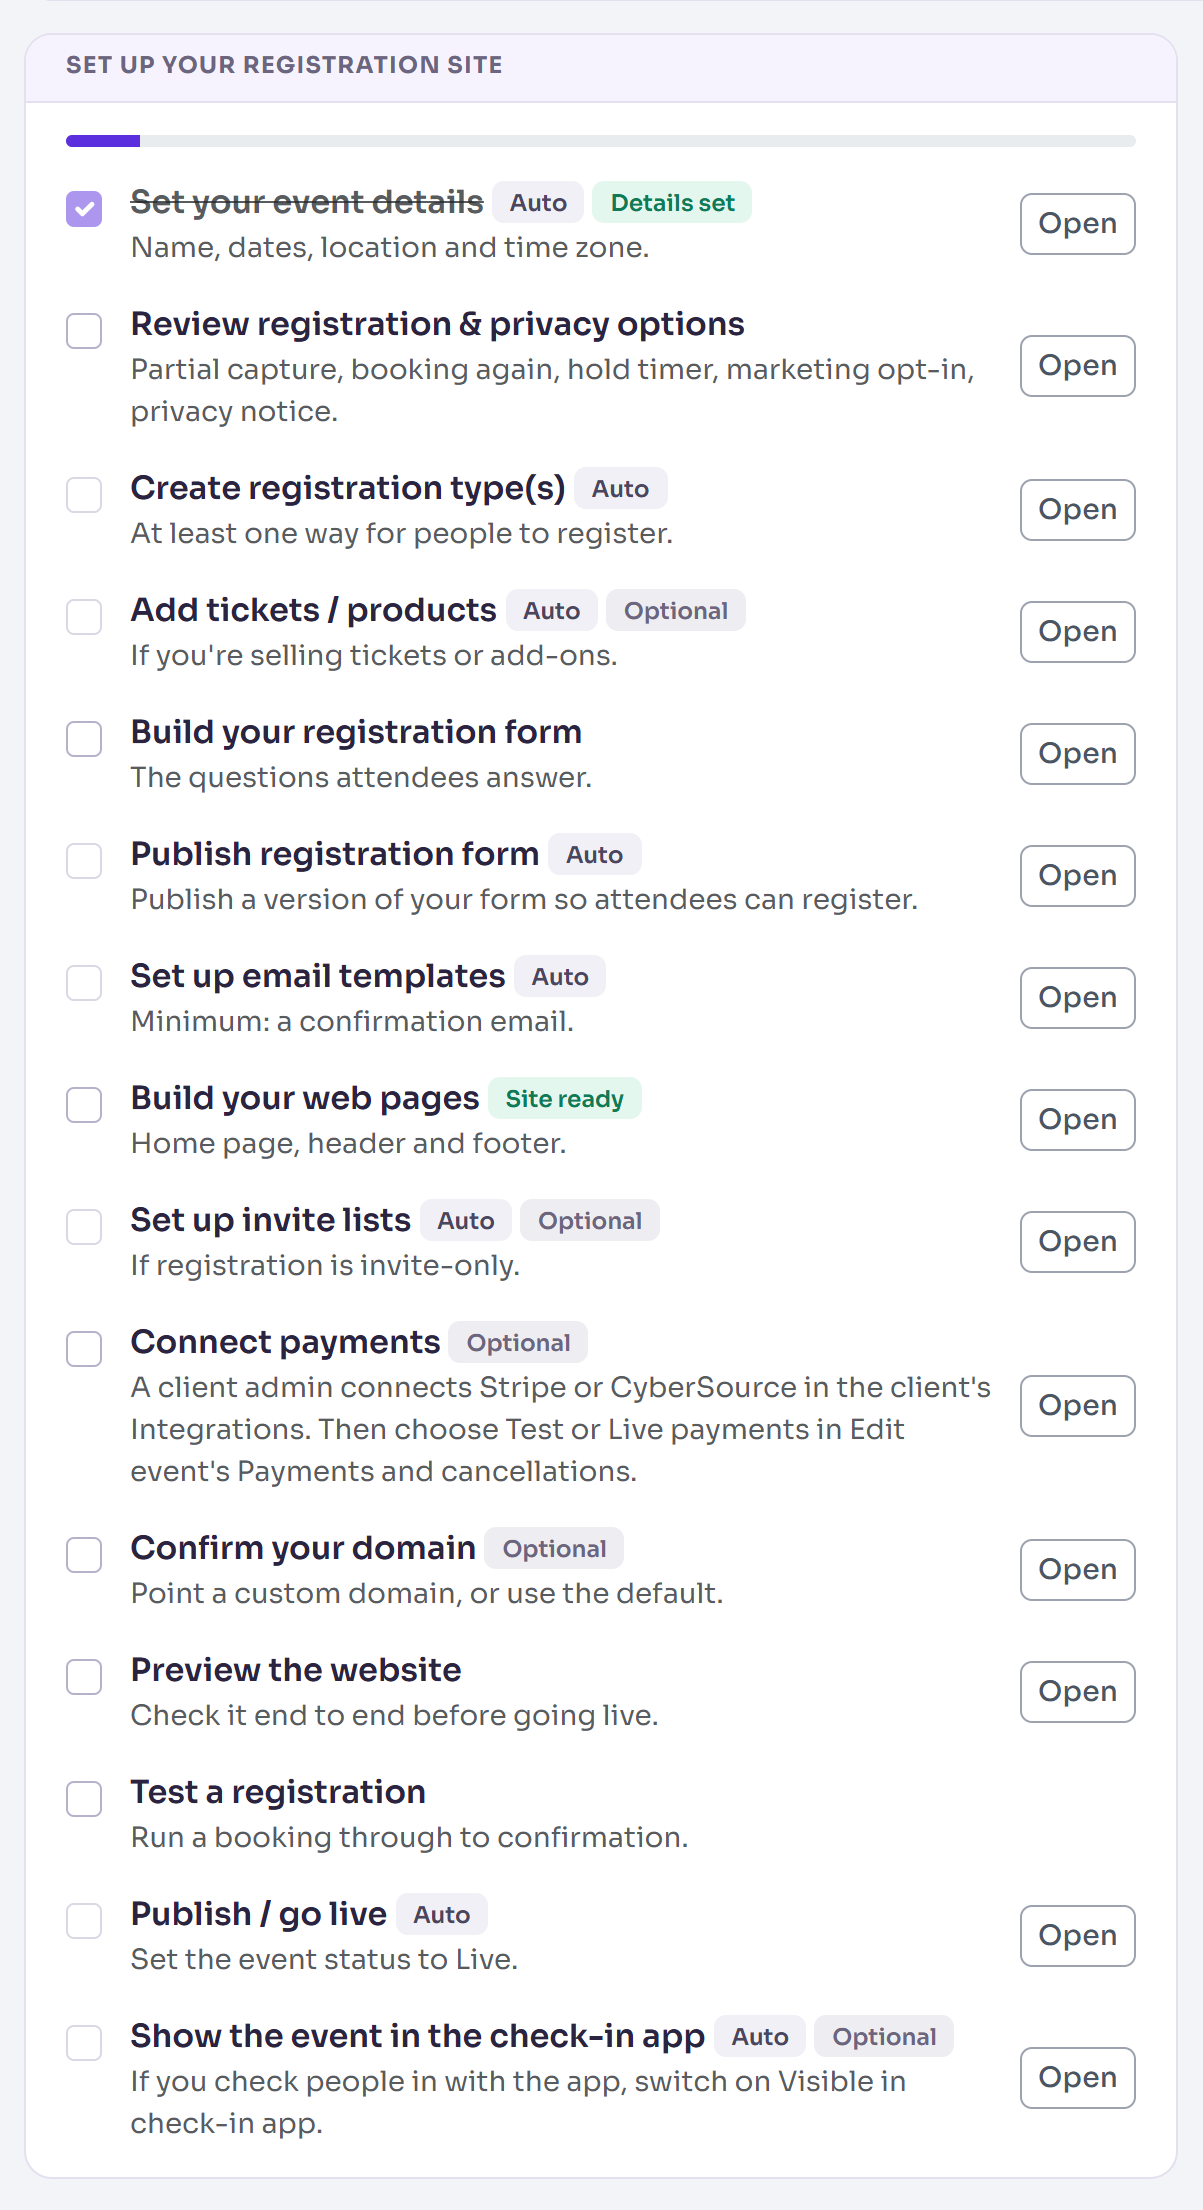
Select Overview in the menu. The event shows Draft and the number of days to go. Then select Open setup checklist: it lists the steps to launch registration, in order, with an Open button for each, and ticks the steps Delekit can detect as you finish them.
If something isn't right
- The dates or time zone are wrong: open Edit event and change them under Dates and venue, then select Save changes.
- You created an event by mistake: open Edit event and use its Delete event section. Your organisation needs to have set how long deleted events are kept (Admin › Data retention) first.
- You can't see New event: you aren't a client administrator for this organisation.
Related articles
Still stuck? Contact Delekit support.
Was this article helpful?
That’s Great!
Thank you for your feedback
Sorry! We couldn't be helpful
Thank you for your feedback
Feedback sent
We appreciate your effort and will try to fix the article