Audience: client administrators. Applies to: all plans. Some steps depend on what your plan includes.
Before your first event, spend half an hour on your organisation's settings: who can sign in, how long personal data is kept, payments, your default emails and, if your plan includes it, your own domain. Several of these are copied into each new event when it's created, so setting them up first saves doing it event by event.
Before you start
- You need to be a client administrator. Client settings are only for client administrators. Event administrators see only the events they've been given.
- Some features depend on your plan. One that isn't included shows a padlock in the menu ("not included in your plan"). Speak to your account manager or raise a ticket to add it: see Get help from Delekit support.
Open Client settings
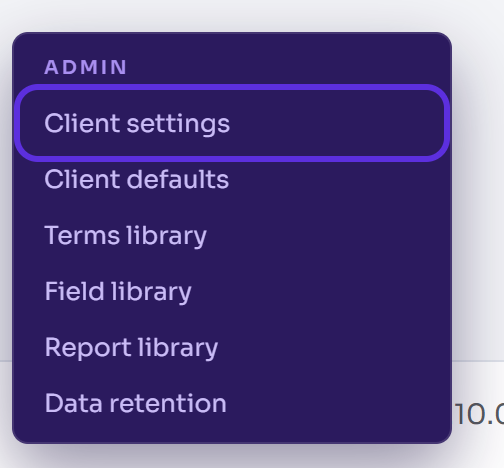
In the menu, select Admin, then Client settings. It opens in a new tab.
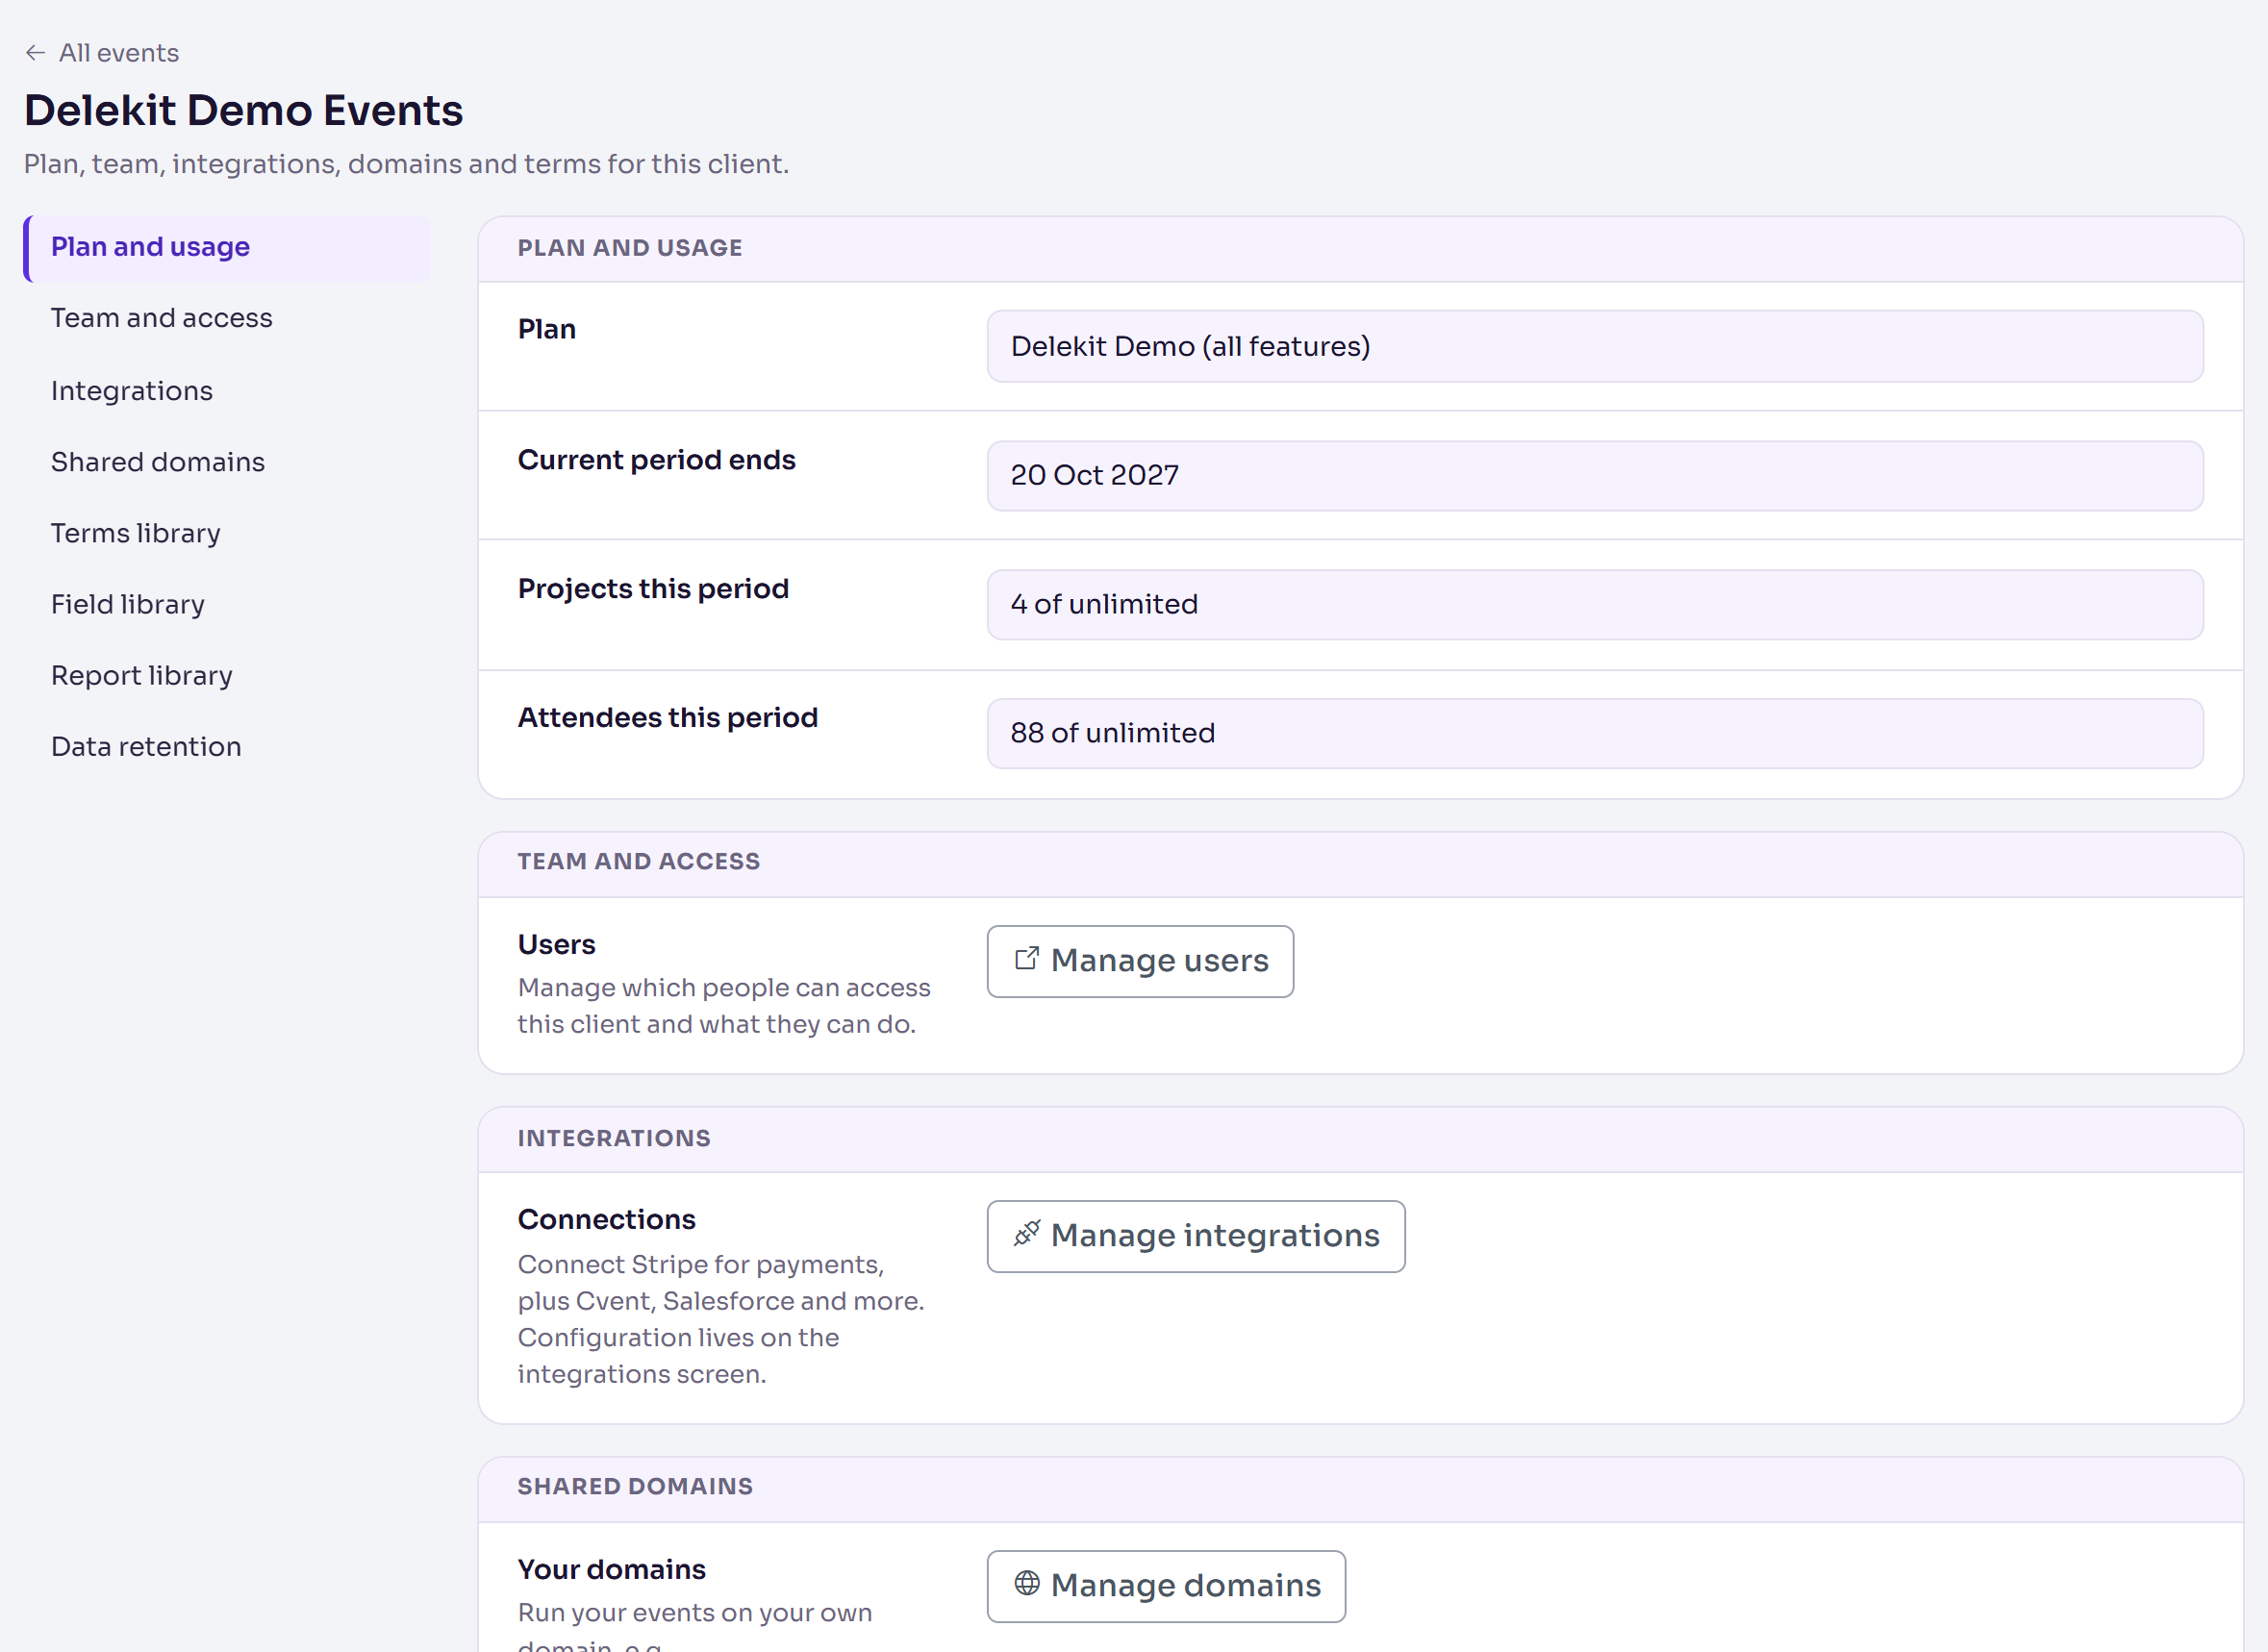
Client settings shows your plan and how much of it you've used this period, and links to most of the settings here: Team and access, Integrations, Shared domains, the Terms library, Field library and Report library, and Data retention.
Set up your account, in this order
- Invite your colleagues. In Team and access, select Manage users, then Add user. Choose Client admin for someone who manages every event and these settings, or Project admin for someone who only works on the events you choose (you can give them events once you've created some).
- Set your data retention periods. Until you do, you can't delete an event or erase someone's personal data. See Set your data retention periods.
- Connect payments, if you'll sell tickets. In Integrations, select Manage integrations. See Take payments with Stripe or Take payments with CyberSource.
- Set up your default email templates, so every new event can start from your wording. See Set up your default email templates.
- Add your standard fields. In the Field library, add the questions most of your events ask (dietary requirements, job title) and turn on Add to new events automatically.
- Add your standard terms. In the Terms library, add your code of conduct or photography consent, and turn on Add to new registration forms automatically.
- Use your own domain, if your plan includes it. See Use your own domain for your event site.
Steps 4 to 6 only reach events created after them, so do them before your first event.
What happens next
Nothing here is visible to attendees. Your settings apply as you create events: the new-event wizard offers your default templates and standard fields, and your terms are offered when you build a registration form.
When you're ready, create your first event.
Related articles
Still stuck? Contact Delekit support.
Was this article helpful?
That’s Great!
Thank you for your feedback
Sorry! We couldn't be helpful
Thank you for your feedback
Feedback sent
We appreciate your effort and will try to fix the article